- Introduction
- History

|
Ahoy! This here is the 101st Featured Article.
"Buggy" has been featured, meaning it was chosen as an article of interest.
|
Past[]
The Apprentice Years[]
Buggy was born in the Grand Line, 39 years before the present day.[12]
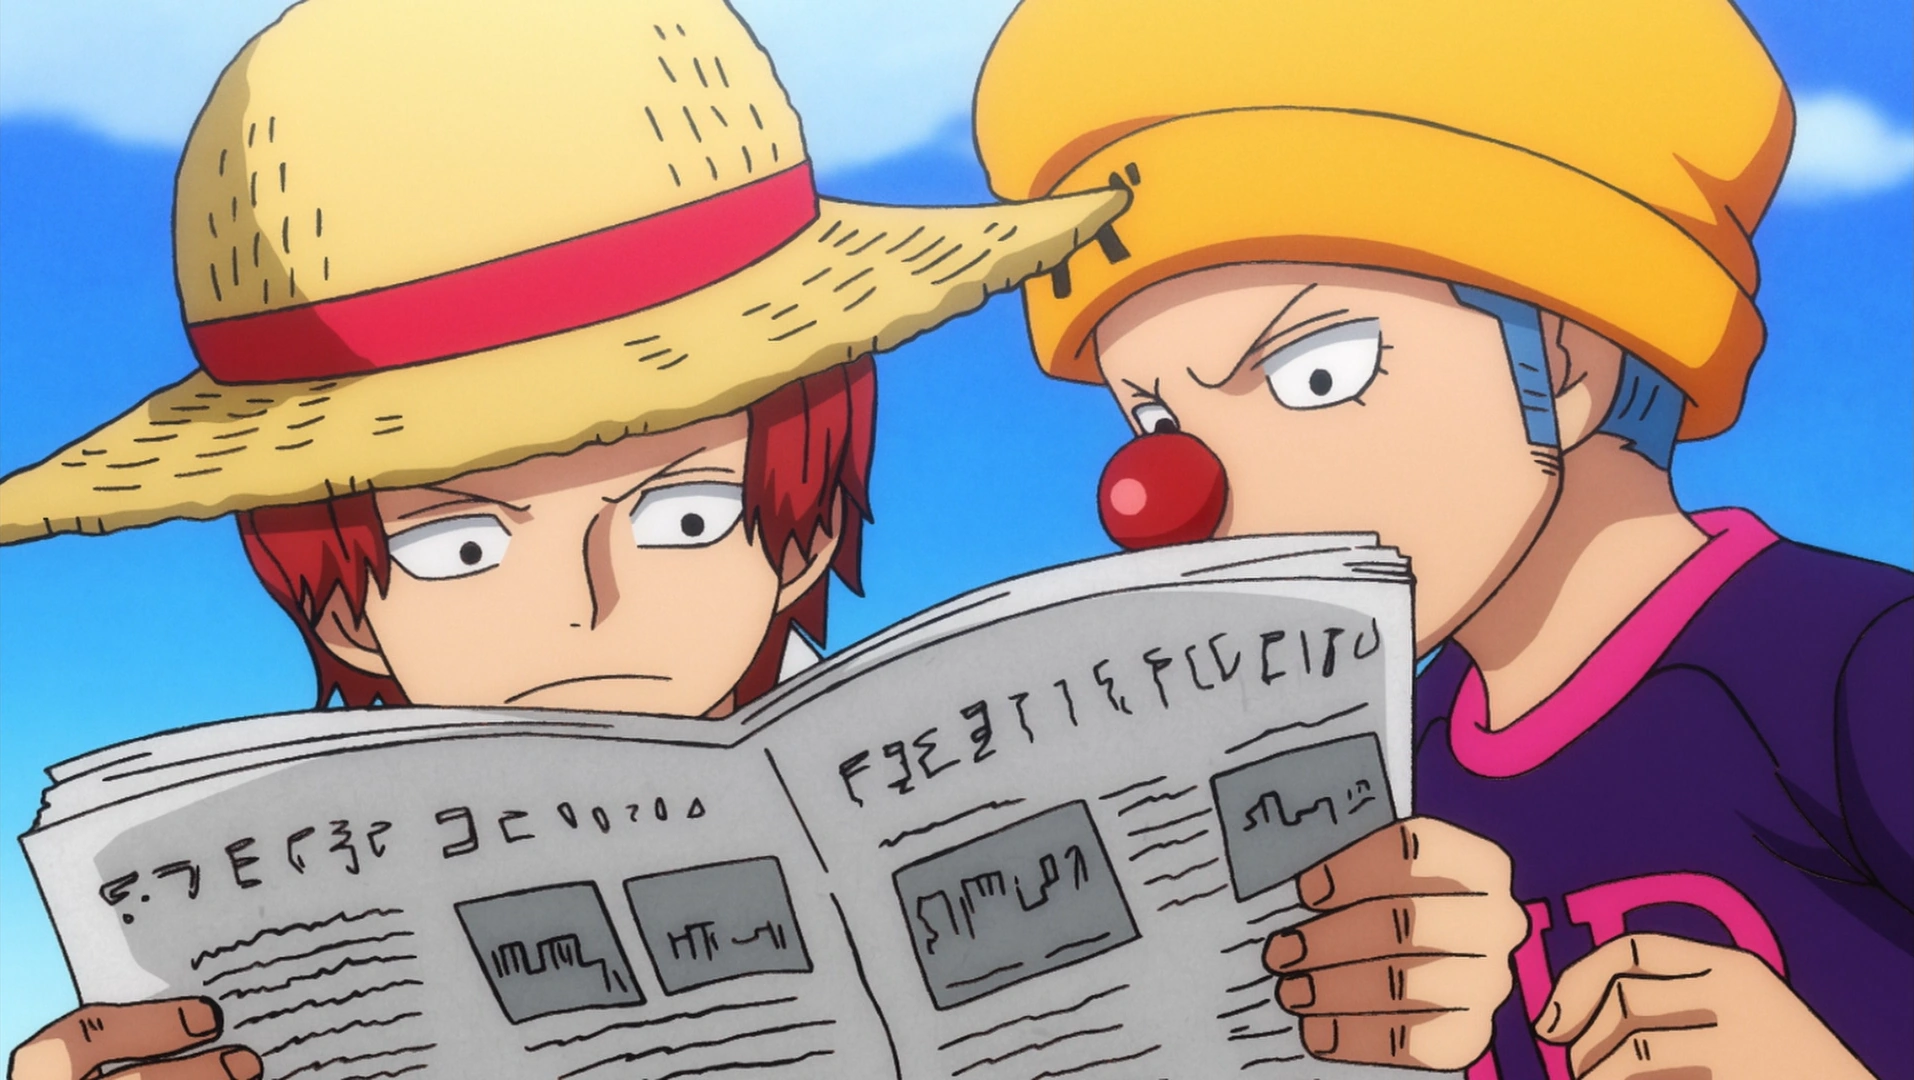

Buggy and Shanks as apprentice pirates on Roger's crew, reading news about Kozuki Oden.
At least 30 years ago, Buggy at the age of 9, joined the Roger Pirates as an apprentice alongside Shanks. One day, the Roger Pirates were reading a newspaper article about a samurai from Wano Country that joined the Whitebeard Pirates, and Buggy complained that Whitebeard's crew was receiving all the focus in the news.[15]
He and Shanks frequently argued over whether the North Pole or the South Pole was colder and were reprimanded for their endless squabbling by Silvers Rayleigh. At least 27 years ago,[16] the Roger Pirates raided another ship out at sea, and during the battle Buggy found a map leading to treasure at the bottom of the sea. He kept the map for himself and talked with Shanks after the raid. Shanks revealed that the crew had obtained a Devil Fruit in the raid, and Buggy became very interested upon hearing that it was worth ![]() 100,000,000 in the market.
100,000,000 in the market.
Thus, Buggy volunteered to eat the fruit before creating a fake Devil Fruit and eating it in front of the crew. With the real Devil Fruit, the Bara Bara no Mi, still in his possession along with the treasure map, Buggy plotted to leave the Roger Pirates, become rich, and form his own powerful pirate crew. However, Shanks then suddenly greeted him at his hiding spot, forcing Buggy to hide the fruit in his mouth. Shanks left but then unexpectedly returned to tell Buggy something else, causing Buggy to panic and swallow the fruit whole. As Buggy became enraged at Shanks, he saw that his treasure map had blown into the ocean, and he dove in to save it. However, eating the Devil Fruit rendered unable to swim, so Shanks was forced to rescue him. In addition to losing his treasure map forever, Buggy now had no way to go underwater to find the treasure, and so he formed a grudge against Shanks.[17]
Sometime after that, in the New World, Shiki and the Golden Lion Pirates wanted to team up with the Roger Pirates to take over the world, and due to their massive fleet, Buggy advised Gol D. Roger to comply with Shiki's request. However, Roger refused, and the Roger Pirates battled the Golden Lion Pirates in the Battle of Edd War, which was ultimately declared a draw.[18] One year later on an island in Paradise, the Roger Pirates had easily defeated a battalion of Marines when Buggy spotted the Whitebeard Pirates disembarking on the other side of the island.[19] The Roger Pirates and Whitebeard Pirates battled each other for four days until their conflict settled into a gift exchange. During the ceasefire periods at night, Buggy noticed that Marshall D. Teach of the Whitebeard Pirates never slept, and pointed this out to Shanks after the battle, saying he heard that Teach had never slept in his life. Roger pleaded for Whitebeard to allow the samurai Kozuki Oden to join his crew, and Whitebeard reluctantly agreed. The Roger Pirates were initially hesitant to accept Oden as a crew member, but they quickly warmed up to him.
After departing from the island, the Roger Pirates rode a Knock Up Stream up to Skypiea. They managed to find the Shandorian Golden Belfry Bell, and Buggy wanted to take it, but Roger said he would have to do it when he was a captain.[20] Over the next year, the Roger Pirates sailed to destinations including Water 7, Tequila Wolf, Fish-Man Island, Wano Country, and Zou as they charted a way to reach the legendary final island in the Grand Line. However, right before they sailed to that island, Buggy came down with a fever, forcing him and Shanks to stay behind at the harbor.[21] After the rest of the crew returned from the final island, Roger became known as the Pirate King and the crew had to fend off many attackers. One day, Roger announced that he was disbanding the crew, and they partied into the night before tearfully bidding farewell to him the next day. The crew then took Oden back to his home in Wano and bid farewell to him as well. The remainder of the crew then went their separate ways.[22]
The New Era[]
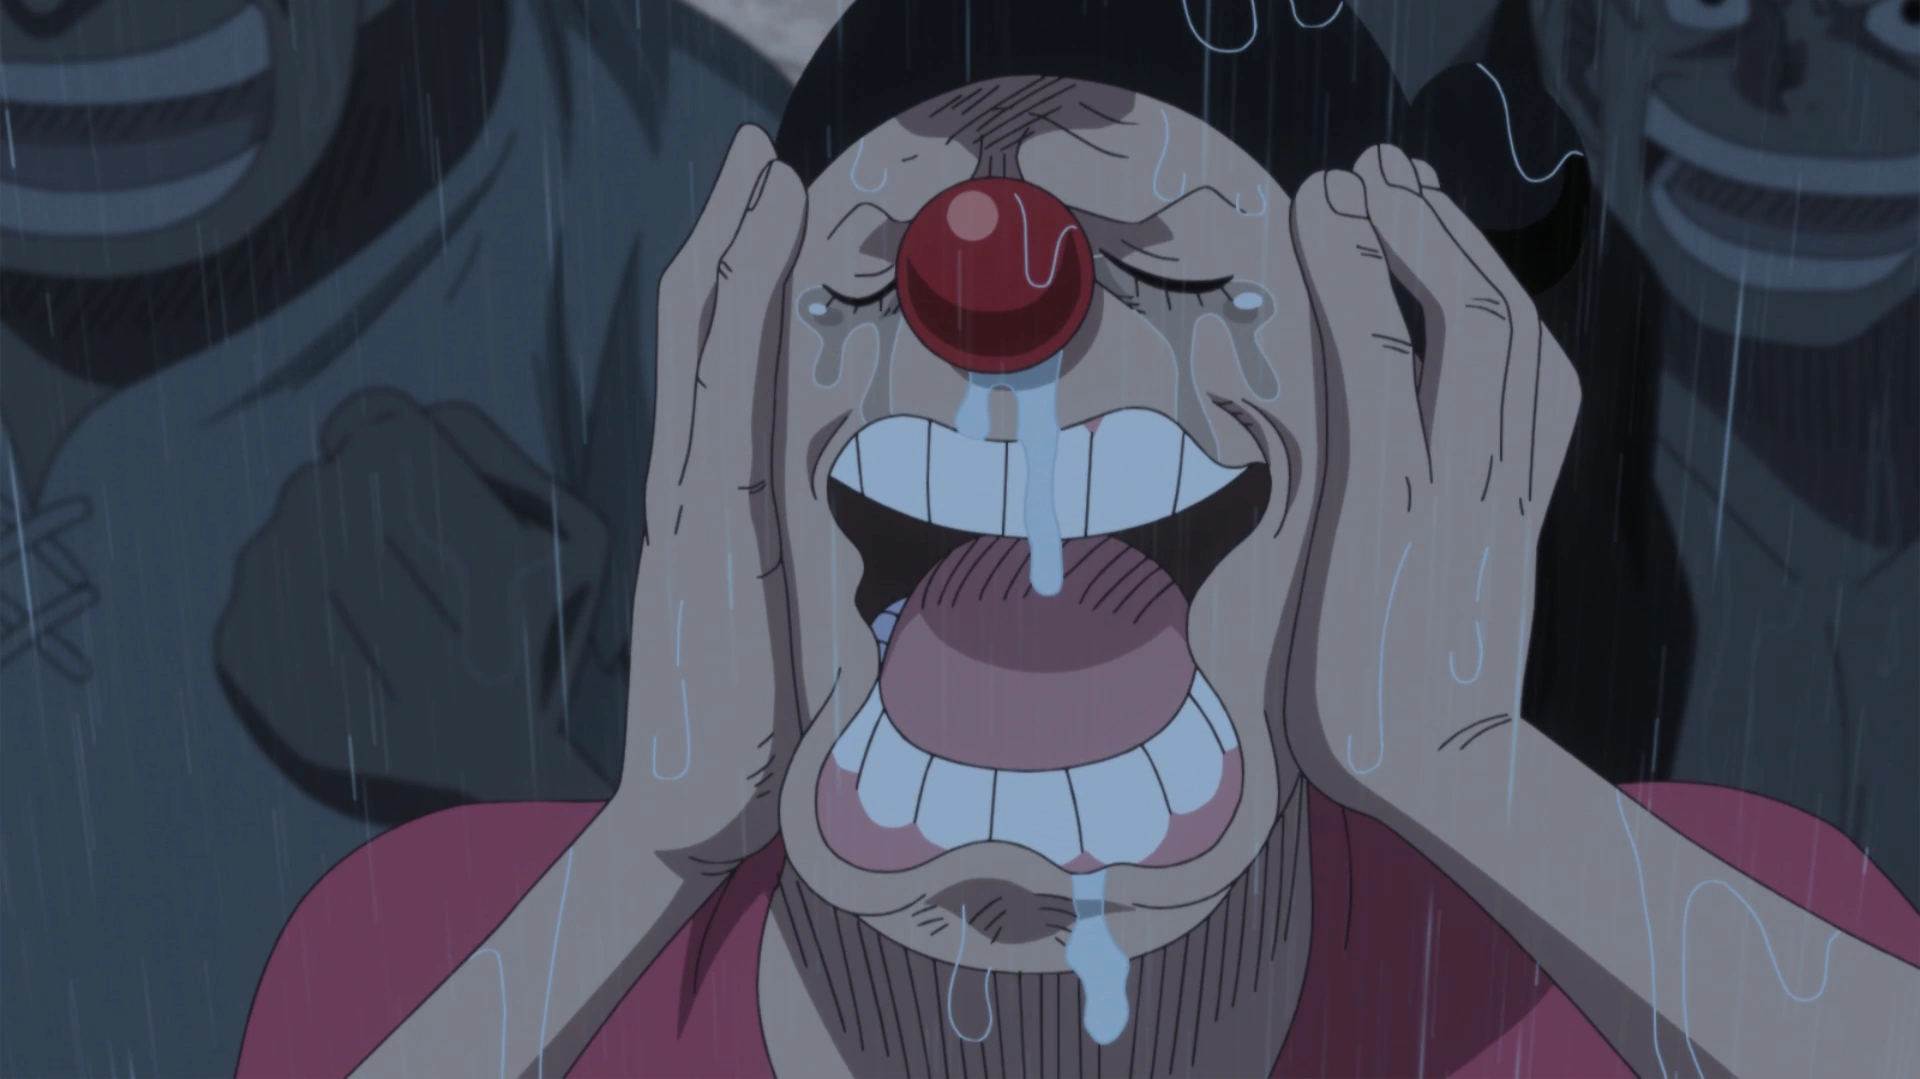
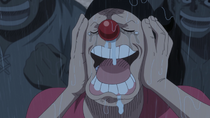
Buggy crying during Roger's execution.
One year after the Roger Pirates' dissolution, Roger was executed by the World Government in Loguetown. Buggy and Shanks were present at his execution, and they both wept.[18][23] Afterwards, Shanks asked Buggy to join his crew, but Buggy refused and began operating on his own.[24] With the Great Age of Pirates beginning, in order to escape the eye of the World Government, he concealed the fact that he was part of the Roger Pirates. Forming the Buggy Pirates, he started to plunder and pillage the weakest points of the East Blue.[25] Two years ago, not long before the start of the series, he and his crew raided Orange Town and forced the citizens to evacuate into a shelter outside the town to stay safe.[26]
East Blue Saga[]
Orange Town Arc[]

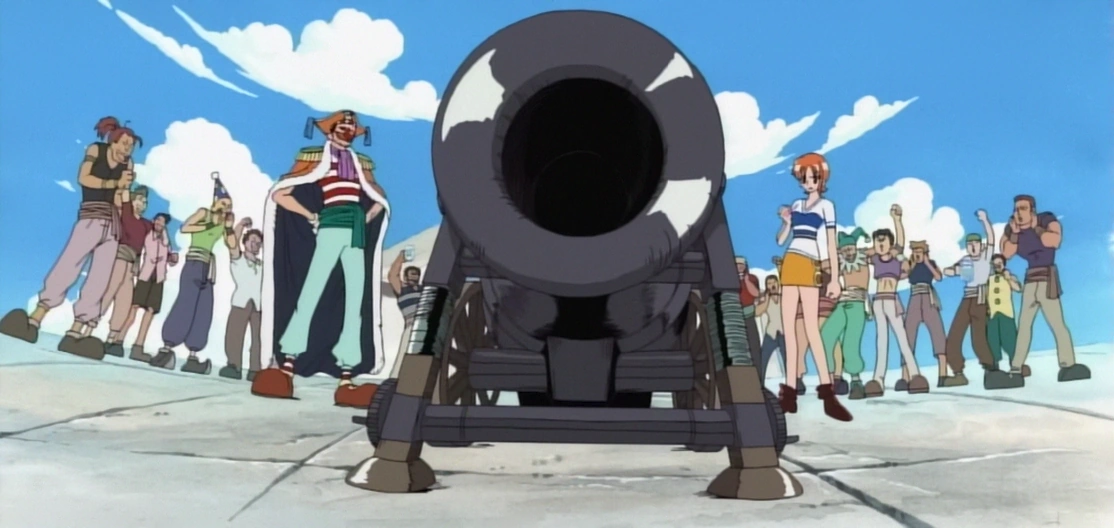
Buggy Pirates have Orange Town under their control thanks to the Buggy Balls.
Buggy heard that a thief had stolen his treasure map to the Grand Line and ordered his crew to catch them. When one of his men tried to explain how it got stolen, Buggy misheard him and thought he mentioned his nose, causing him to become enraged and choke his subordinate before ordering him to be blown up with a Buggy Ball. He then told his crew to catch the thief and loot all of the town's treasure. Later, the thief Nami then arrived on the roof of the tavern and gave Monkey D. Luffy, whom she claimed to be her boss, to Buggy as a prisoner. She also gave the treasure map back, saying she and Luffy had a falling out and she wanted to join the Buggy Pirates.[27]

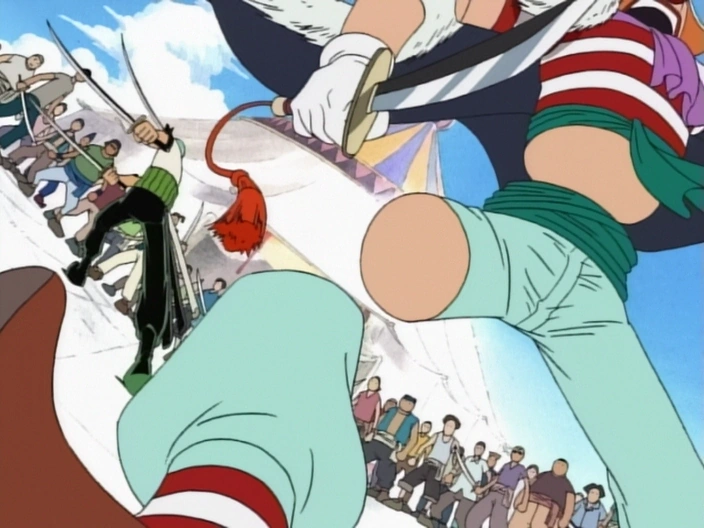
Buggy after being cut up by Zoro.
The Buggy Pirates started partying to celebrate the recovery of the map, and Buggy put Luffy in a cage and decided to have Nami execute him by shooting a Buggy Ball at him. When Nami hesitated, one of the Buggy Pirates decided to light the cannon fuse for her, causing Nami to strike him with her staff as she refused to act like a pirate. Buggy ordered his men to attack her, but they were stopped by Roronoa Zoro.[28] Zoro cut Buggy into pieces, and Buggy pretended to be dead which allowed him to stab Zoro in the back with a disembodied hand. Luffy then insulted Buggy, and Buggy tried attacking him with a knife, but Luffy caught the knife in his mouth and broke it. Zoro got up and went to the cannon, parrying Buggy's knife attacks before flipping the cannon and shooting the Buggy Ball at Buggy and his crew. The Buggy Pirates ran away from the ensuing explosion, and after emerging from the smoke, they saw that Luffy, Zoro, and Nami were gone and had taken the key to Luffy's cage.[29]
Buggy proclaimed that it would be an embarrassment to be beaten by three thieves, and so had his beast tamer Mohji go on his lion Richie to defeat Zoro.[30] Later, Buggy heard that Mohji had been defeated, and so decided to destroy the entire town with Buggy Balls.[31] Mohji then returned and revealed that he had been defeated by Luffy rather than Zoro. After Buggy blew up one row of houses, he was confronted by Orange Town's mayor Boodle.[32] Buggy easily overpowered Boodle by choking him with a detached hand, but Luffy then came and removed his hand from the mayor's neck. Luffy insulted Buggy again, causing the clown to become enraged and immediately fire a Buggy Ball at him. Luffy then ballooned his body with the power of the Gomu Gomu no Mi, causing the Buggy Ball to bounce off of him and destroy the tavern.[33] Buggy and Cabaji used their crewmates to shield themselves from the blast and emerged unharmed from the tavern wreckage.[34] Zoro then dueled with Cabaji, and when Cabaji moved to attack Zoro from above, Buggy detached his hand to try to restrain Zoro. However, Luffy stomped the hand into the ground, allowing Zoro to dodge the attack and defeat Cabaji. After winning, Zoro revealed that he and Luffy were actually pirates, which surprised Buggy. Luffy proclaimed that he would become the Pirate King, which Buggy mocked due to his perceived difference in their abilities.[35]

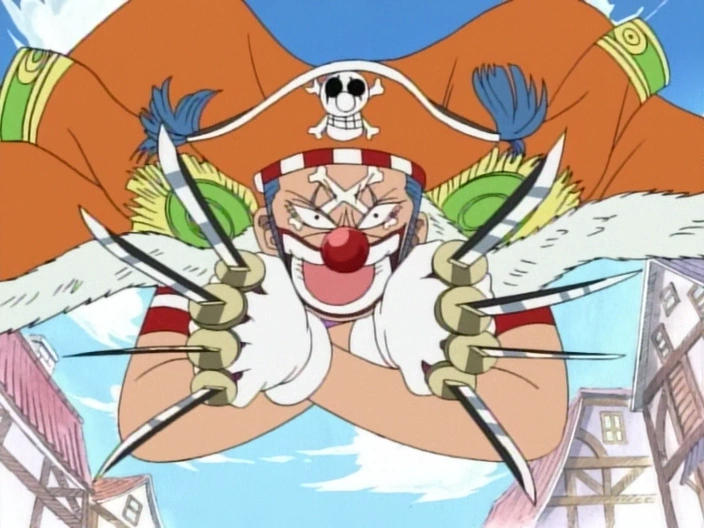
Buggy fighting Luffy and Nami.
Buggy noted that Luffy's straw hat looked similar to Shanks',[35] and Luffy responded that this was indeed Shanks' hat. Buggy assaulted Luffy with fast blade attacks using his detached hands and legs, and targeted the hat, eventually plunging his knives into it. Buggy revealed that he knew Shanks, and Luffy, enraged that the pirate had damaged the hat and tried to invoke Shanks' name, began to pummel and overwhelm him.[36] Buggy told Luffy about his grudge on Shanks and how it made him determined to seize all the treasure on land that he could; having noticed Nami sneaking toward his shed to steal his treasure again, Buggy detached his torso and flew to attack her.[37] However, Buggy's torso fell to the ground after Luffy kicked his groin, causing him to split his body parts into small pieces and fly them around at rapid speed. Buggy then tried attacking Nami again, but was stopped again, this time by Luffy tickling his feet. Nami attempted to hit Buggy with the bag of his treasure, but he intercepted it before sending one of his detached hands to try to stab her from behind. However, Luffy then charged in and kicked Buggy in the face. As Luffy obtained his map to the Grand Line, Buggy elevated his head into the air and attempted to reform his body to resume fighting, but only his hands and lower legs returned to him as Nami had tied up all his other parts. Luffy then stretched both of his arms back and hit Buggy with his outstretched palms, sending him flying off of the island.[38]
Buggy's Crew Adventure Chronicles[]
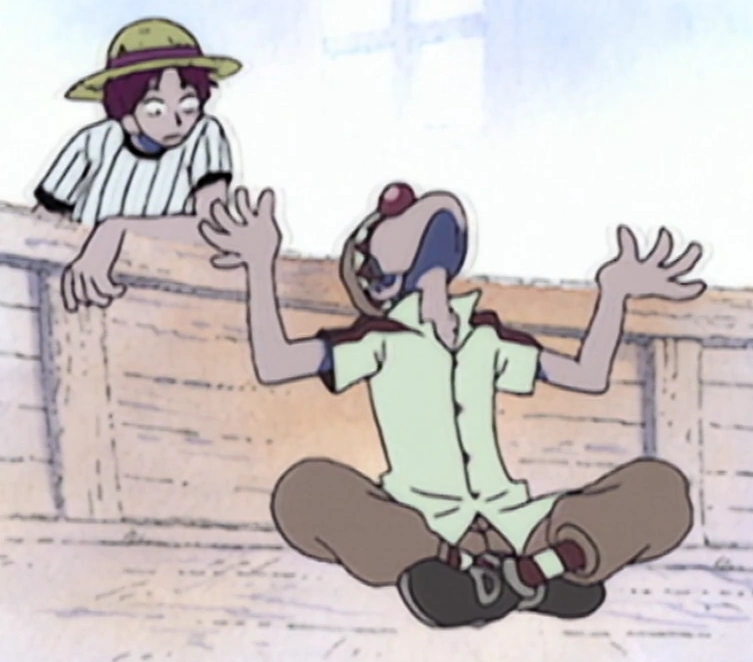
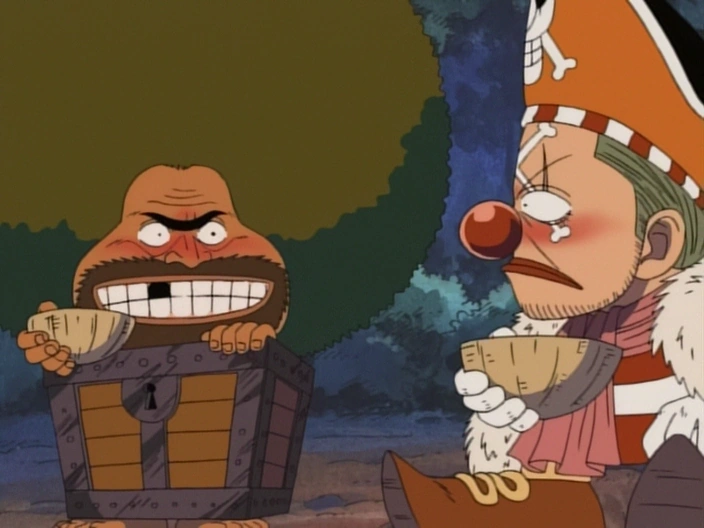
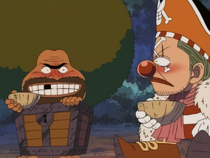
Buggy befriends Gaimon.
Buggy was next seen rowing through the ocean on a small raft and struggling to avoid the carnivorous fish attacking him.[39] After reaching an island, he attempted to catch and eat a small bird, only to encounter its much bigger parent.[40] Buggy attempted to lure the large bird into a trap,[41] but it saw through the trap and attempted to eat him. However, it spat Buggy out because he tasted bad,[42] and Buggy flew all the way to the Island of Rare Animals. There, he was attacked by Gaimon,[43] but the two of them eventually bonded over their unusual bodies.[44]

Alvida and Buggy toast for the beginning of their alliance.
Buggy set back out to sea the next morning but was attacked by a large crab that destroyed his raft.[45] However, the pirate Alvida then arrived and brought Buggy on her ship as she shot the crab.[46] Buggy was shocked to see that Alvida was pursuing Luffy, and the two of them formed a Pirate Alliance to get revenge on him.[47] The next day, Buggy spotted his ship the Big Top docked at an island,[48] but was aghast upon disembarking to find Mohji and Cabaji lying on the ground defeated.[49] Buggy, Alvida, Mohji, and Cabaji then went to confront the cannibalistic Kumate Tribe, who were cooking the rest of their crew to eat and were examining Buggy's captured body parts. Buggy brought his parts back to him and fully reformed his body, and he, Alvida, Mohji, and Cabaji defeated the Kumate Tribe as his crew welcomed him back.[50]
Loguetown Arc[]

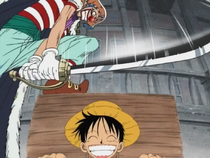
Buggy attempting to execute Luffy.
The Buggy Pirates and Alvida tracked Luffy and the Straw Hat Pirates to Loguetown, and as Alvida reintroduced herself to Luffy while he was on Gol D. Roger's execution platform, Buggy and his crew made their entrance by blowing up a fountain. Buggy sentenced Luffy to a flashy execution, and he had Cabaji pin Luffy to the execution platform.[51] Buggy swung his sword at Luffy's neck, but in a stroke of miraculous fortune, a bolt of lightning struck the platform which incapacitated Buggy and allowed Luffy to escape.[52]
Buggy quickly recovered from the lightning strike and ordered his crew to go after the Straw Hats, assuming that Mohji had burned down their ship. He and Alvida raced toward the coast but were then suddenly grabbed by plumes of smoke as Marine Captain Smoker apprehended them. The Marines successfully rounded up and captured the Buggy Pirates and wrapped Seastone nets around Buggy and Alvida to prevent them from using their Devil Fruit abilities. However, a massive gust of wind suddenly blew through the street and freed the Buggy Pirates, allowing them to escape. The crew regrouped under a porch as a storm started, and Buggy decided that they would head into the Grand Line immediately.[53]
Sky Island Saga[]
Jaya Arc[]
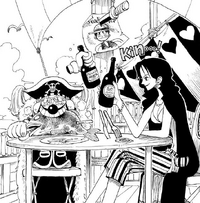
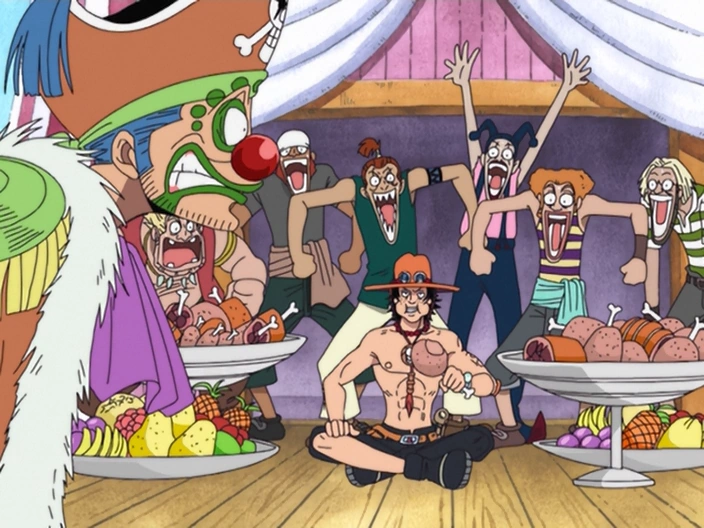
Buggy finds Ace eating on his ship.
The Buggy Pirates went to an island in the Grand Line and searched for treasure in a cave. However, they had gone to the wrong island, as miners proceeded to enter the cave and put the pirates to work. Later, Buggy and his crew became excited to hear that Luffy now had a ![]() 100,000,000 bounty, believing that it would make them even more infamous once they got their revenge on him. As the Buggy Pirates started partying, Portgas D. Ace of the Whitebeard Pirates came aboard and said he could give them information about Luffy. Buggy was hostile toward Ace until he learned who he was, and Ace then suddenly fell asleep. Buggy's subordinates asked if they should kill Ace and become famous, but Buggy ordered them not to as he knew that they would anger Whitebeard by attacking a member of his crew. Ace then woke back up and took part in the party as he drank with Buggy.[54]
100,000,000 bounty, believing that it would make them even more infamous once they got their revenge on him. As the Buggy Pirates started partying, Portgas D. Ace of the Whitebeard Pirates came aboard and said he could give them information about Luffy. Buggy was hostile toward Ace until he learned who he was, and Ace then suddenly fell asleep. Buggy's subordinates asked if they should kill Ace and become famous, but Buggy ordered them not to as he knew that they would anger Whitebeard by attacking a member of his crew. Ace then woke back up and took part in the party as he drank with Buggy.[54]
Summit War Saga[]
Amazon Lily Arc[]
According to an article in the newspaper read by Gloriosa, Buggy was captured by the Marines after accidentally wandering into a Marine garrison which he thought was a cave containing Captain John's treasure. After being captured, he was imprisoned in Level 1 of Impel Down.[55]
Impel Down Arc[]

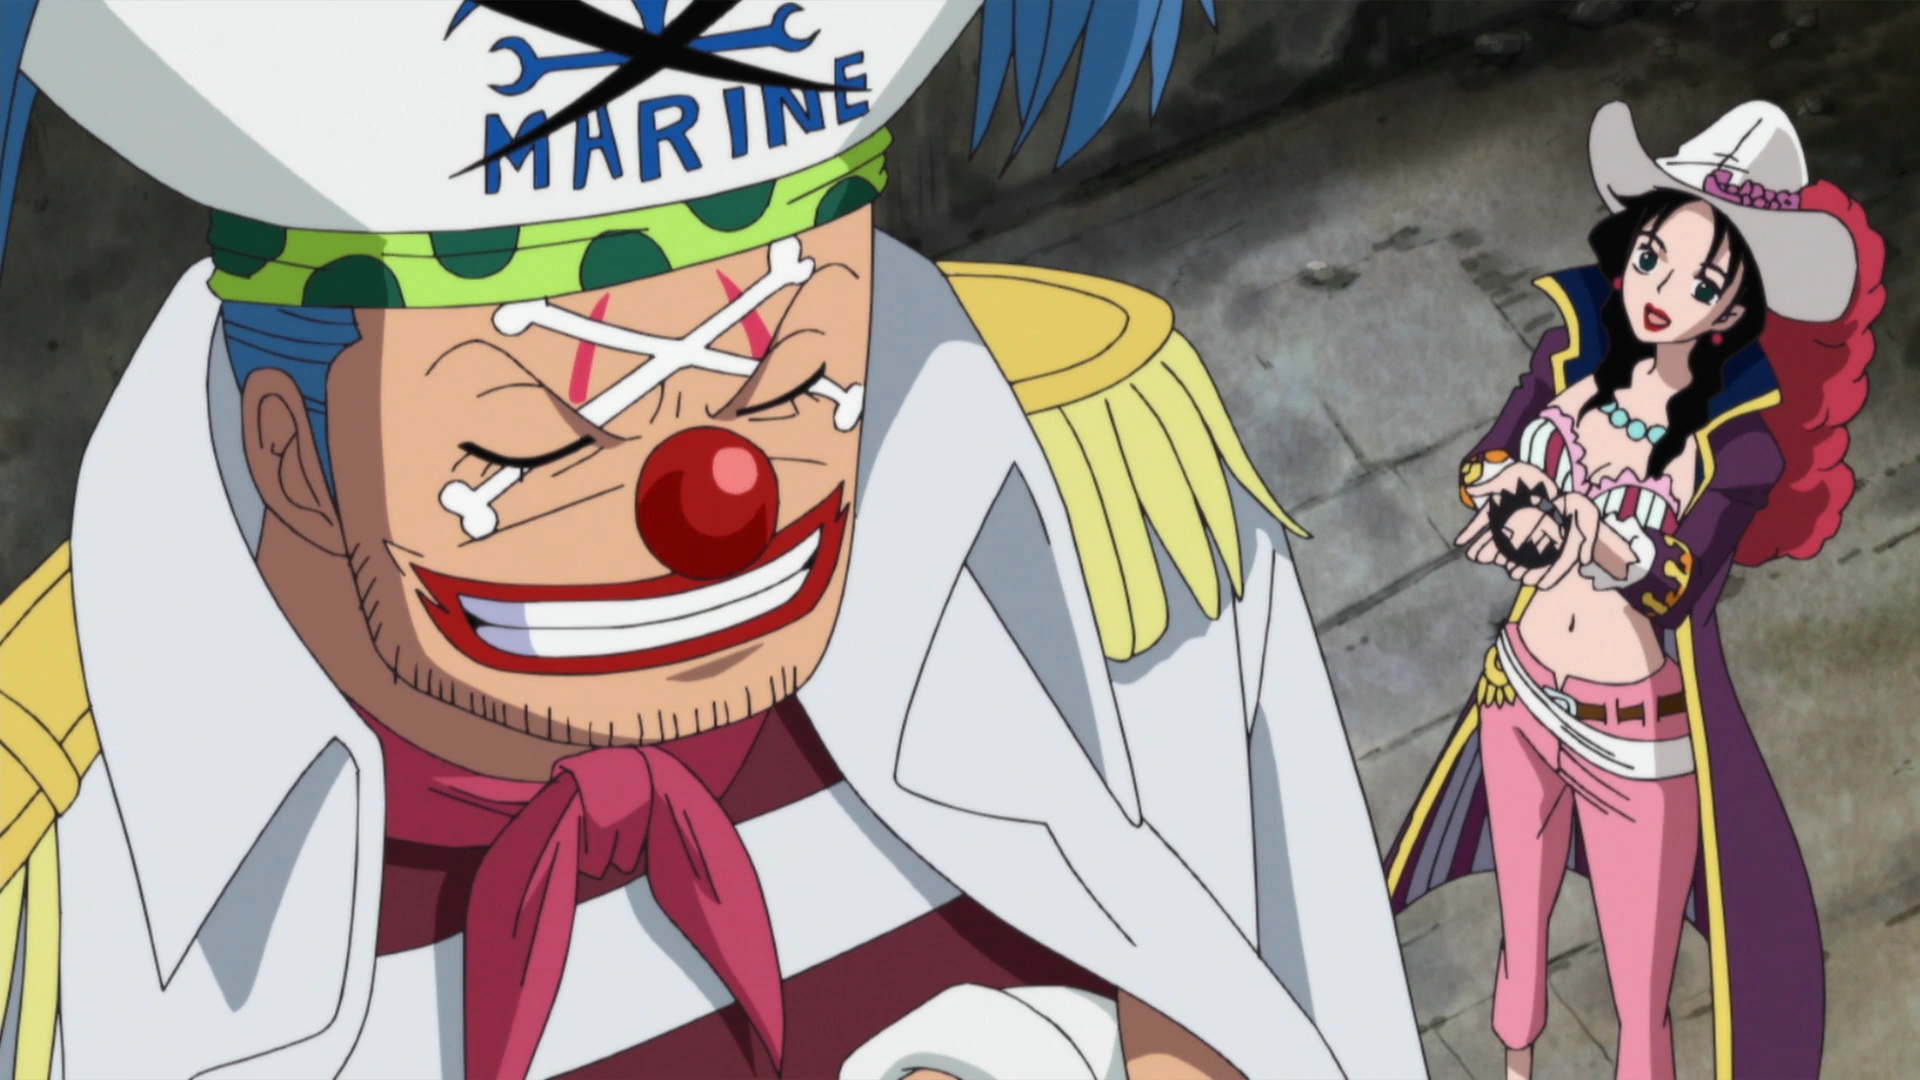
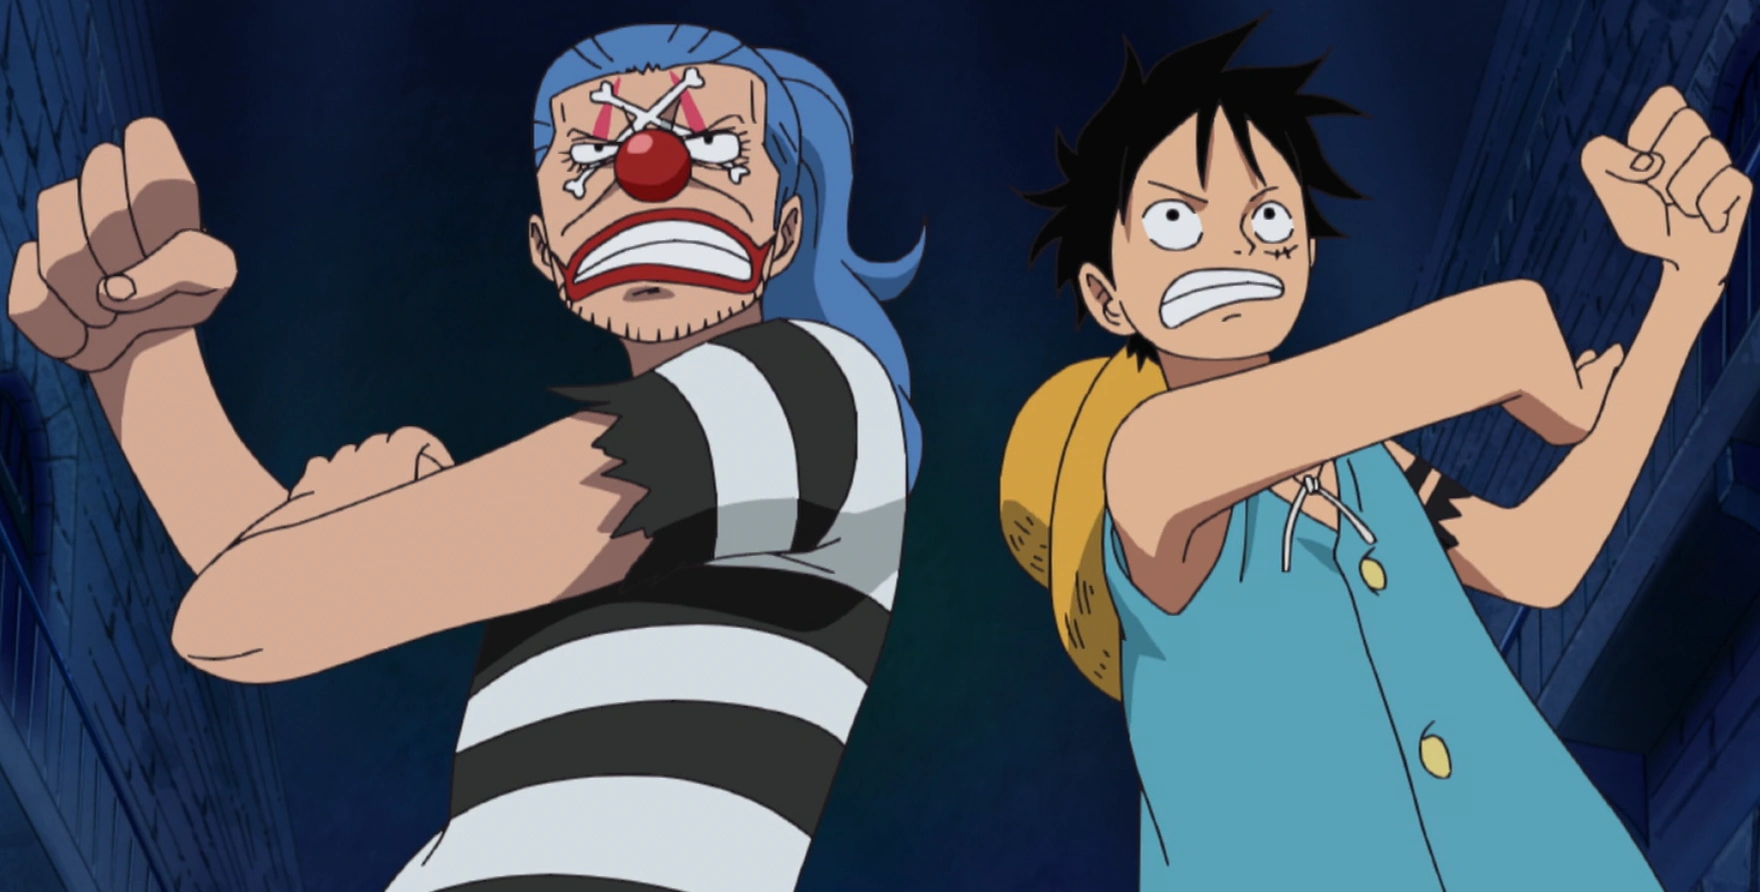
Buggy and Luffy reunite and team up.
Buggy attempted to sneak out of the prison but was caught and chased by the Blugori. He ended up running alongside Luffy, who revealed he had snuck into the prison. After some initial shock and hostility, the two of them ended up teaming up to fight the Blugori.[56] To Buggy's great surprise, Luffy was able to quickly defeat each of them with just one punch. Luffy then revealed that he was going down to Level 5 to save Ace, and Buggy initially refused to go along with him. However, he then noticed that Luffy was wearing an armband that pointed to the location of Captain John's treasure, and so offered to take him down to Level 4 in exchange for the armband. To his complete shock, Luffy gave him the armband right then even after finding out it was a treasure map.[57]
Buggy and Luffy ended up crashing through the guard room and into Level 1's Crimson Hell, and Buggy detached his feet from his body, allowing him to carry Luffy through the air on his back while his feet traversed unharmed through the spike-covered terrain. The duo reached a pit leading to Level 2, and Luffy immediately jumped in. Buggy considered taking the armband and making his escape, but he was then beheaded by a Blugori, causing the rest of his body to fall down to Level 2.[57] Luffy and Buggy were immediately confronted by the Basilisk from Level 2's Wild Beast Hell, and Buggy was left in shock at Luffy's vastly increased power as Luffy used Gear 3 to defeat it. The prisoners asked the pirates to free them, and Buggy decided to let them out to create chaos that would shield him. However, the prisoners ultimately decided to stay imprisoned as long as the boss of Level 2 was still around, and Buggy had to admit to Luffy that he was lying about being able to reach Level 4. However, Galdino then arrived and said that he could guide them through the level.[58]
Buggy, Luffy, and Galdino were then chased by the other wild beasts. Galdino took them to the stairs leading down to Level 3, where they encountered the boss of the level, the Sphinx. When the Sphinx started attacking, Buggy and Galdino made a pact to work together to escape and use Luffy as bait. Galdino created wax clones of himself to distract the Sphinx, but as he and Buggy attempted to go back up to Level 1, the Sphinx's repeated attacks caused the floor to fall out from under them and sent them falling into Level 3.[59] After landing in the very hot Starvation Hell, the trio and the unconscious Sphinx ended up being caught in a net made of Seastone. However, the Sphinx then woke up and tore the net apart, and Buggy and Galdino climbed up to the rafters, bidding farewell to Luffy as he continued looking for a way down. Buggy and Galdino then heard singing, and found Bentham, a former associate of Galdino, in one of the cells.[60] They released Bentham, who went off to join Luffy.[61]
Buggy and Galdino later encountered the Jailer Beast Minotaurus, who chased them to Luffy and Bentham's location near a pit going down to Level 4. Buggy introduced his new weapon, the Muggy Ball, to the other three, and launched it at Minotaurus from his shoe. The Muggy Ball's explosion injured Minotaurus, and successive attacks from Bentham, Luffy, and Galdino defeated it.[62] However, the attacks resulted in the floor collapsing from beneath them, sending them down to Level 4, the Blazing Hell. As they walked in the intense heat, Bentham recalled that the kitchen was on this level. Buggy wanted to follow Luffy to the kitchen, but Galdino held him back and forced him to hide; he pointed out that the level was heavily guarded and that Impel Down would likely send their top forces, including the warden Magellan, after them.[63]
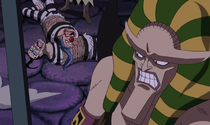
Buggy and Mr. 3 subdued by Hannyabal.
When Magellan confronted Luffy, Buggy and Galdino decided to take advantage of this and ambush the forces guarding the way back up, believing they had a chance of overpowering the vice warden Hannyabal.[64] Hannyabal actually allowed them to go through the gate, but they attacked him anyways, causing him to easily defeat them. They were then sent to the interrogation room and were later freed by Bentham who was disguised as Hannyabal. With Luffy having been poisoned by Magellan and sent to Level 5, Bentham wished to go and save him, much to Buggy and Galdino's dismay.[65] As Hannyabal, Bentham led the duo into the Freezing Hell of Level 5; however, upon being confronted by ferocious wolves, Buggy and Galdino ran away and left Bentham to help Luffy alone.[66]
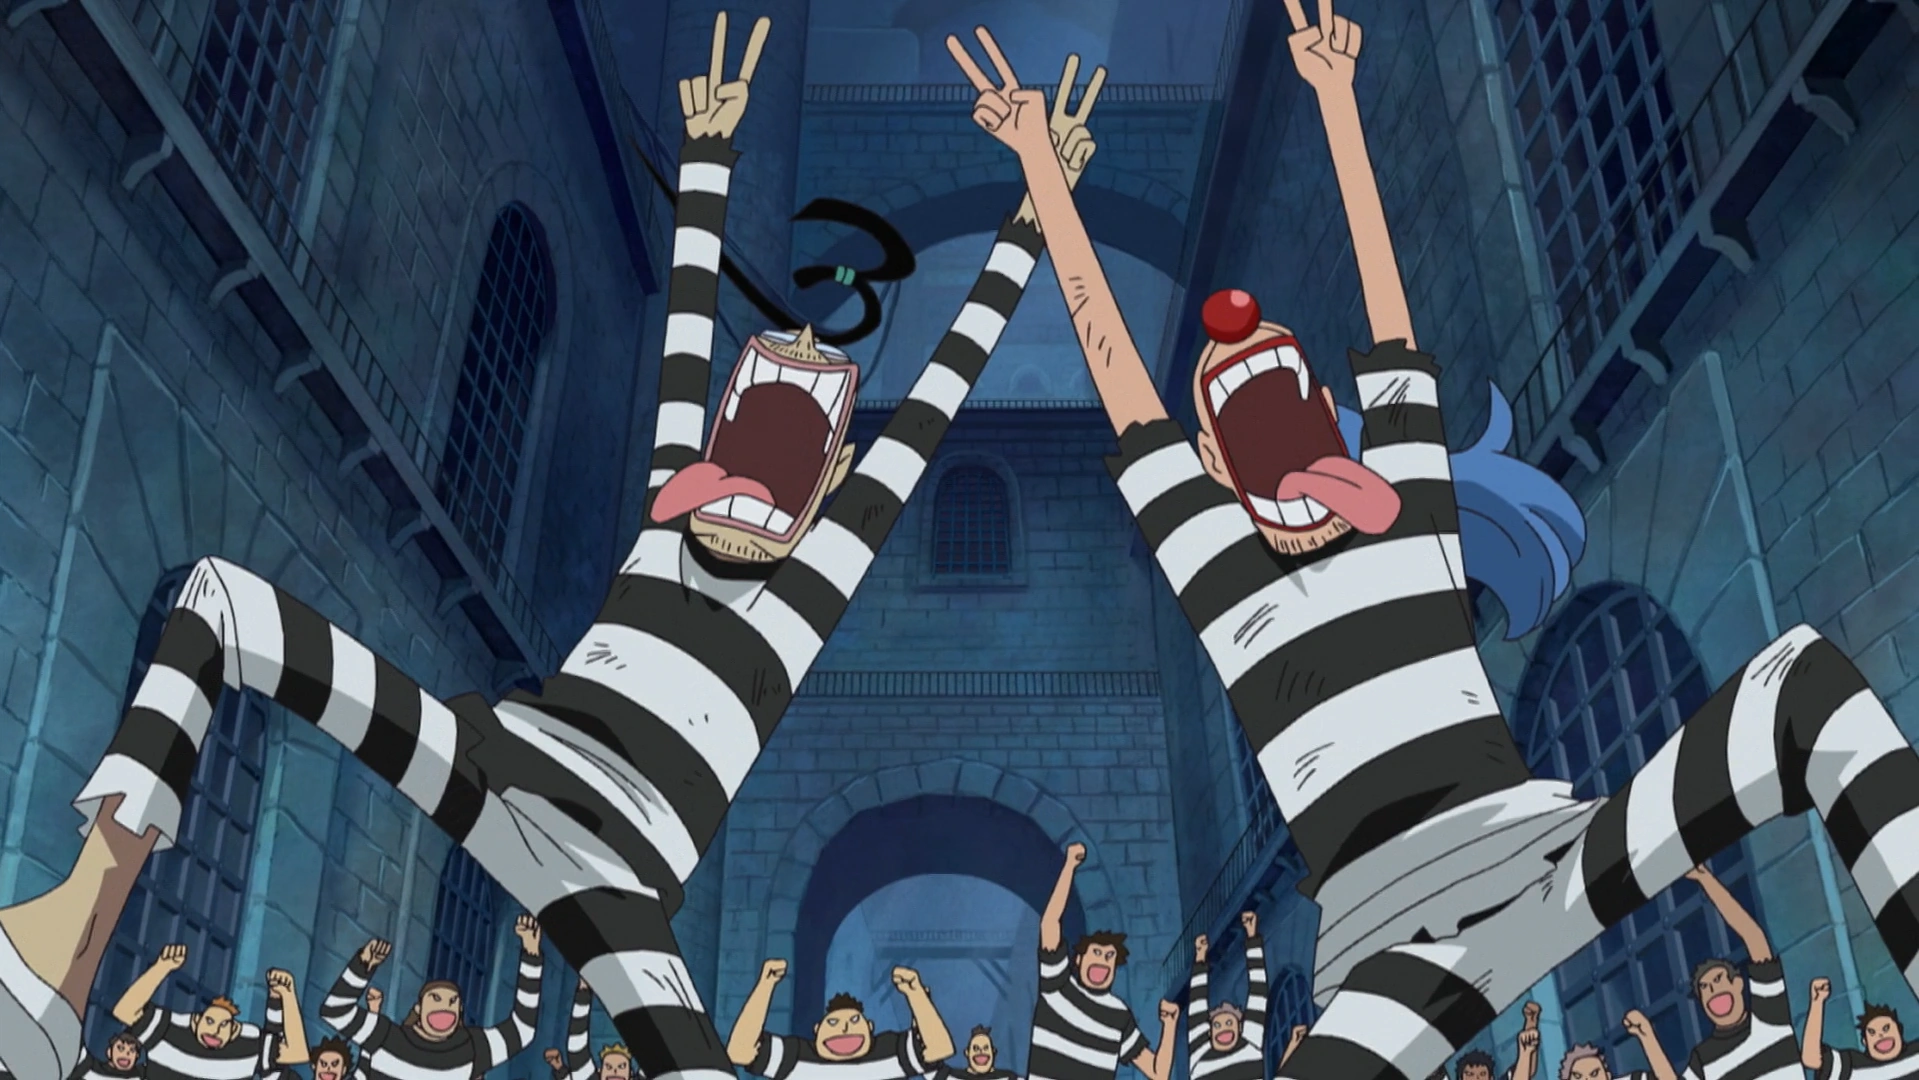

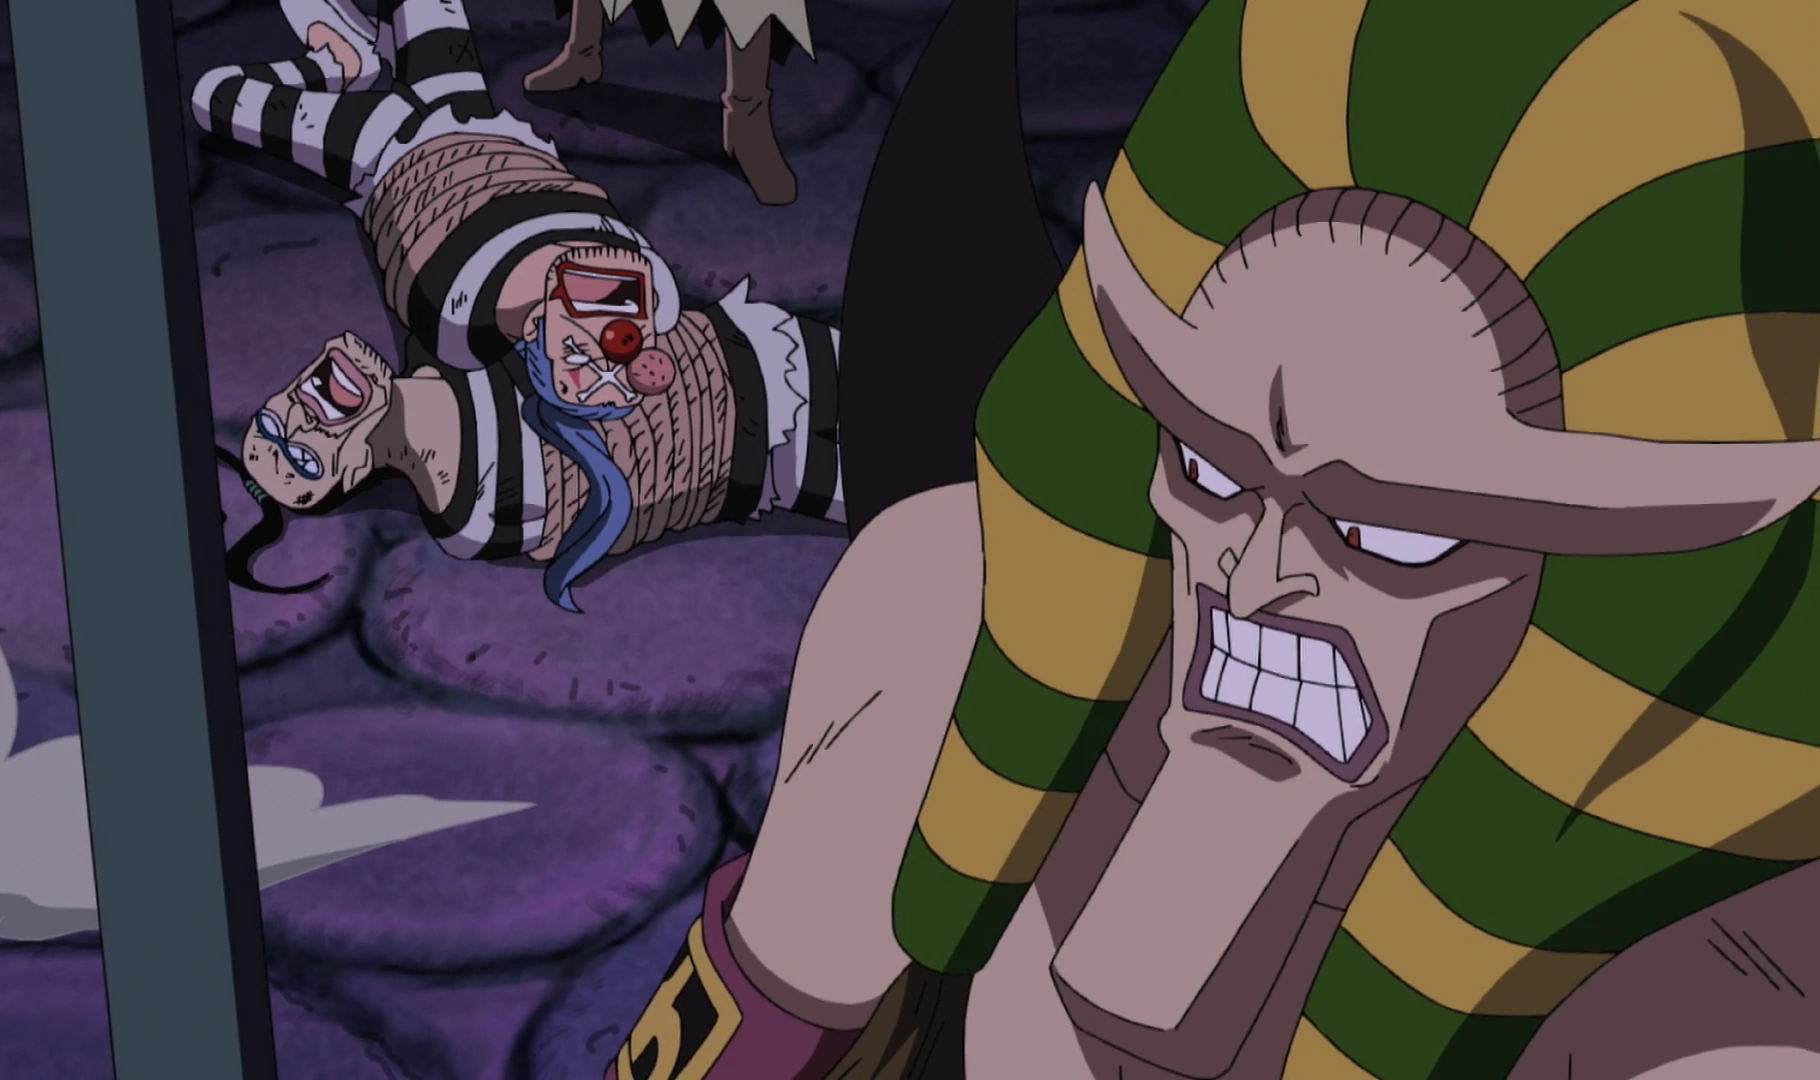
Buggy and Mr. 3 start a riot.
Buggy and Galdino managed to avoid the guards by hiding behind walls created by Galdino's wax, and over the next 20 hours they managed to sneak all the way back up to Level 2. As the prison forces headed down toward Level 4 to deal with chaos there, the duo used wax keys to free the prisoners on their level and start a riot. Buggy quickly took leadership of the prisoners, and they happily followed him as their savior.[67] When Buggy's group reached Level 1, they were confronted by all four Jailer Beasts, but the Beasts were suddenly taken down by Luffy, Bentham, and their allies from the lowest levels.[68]
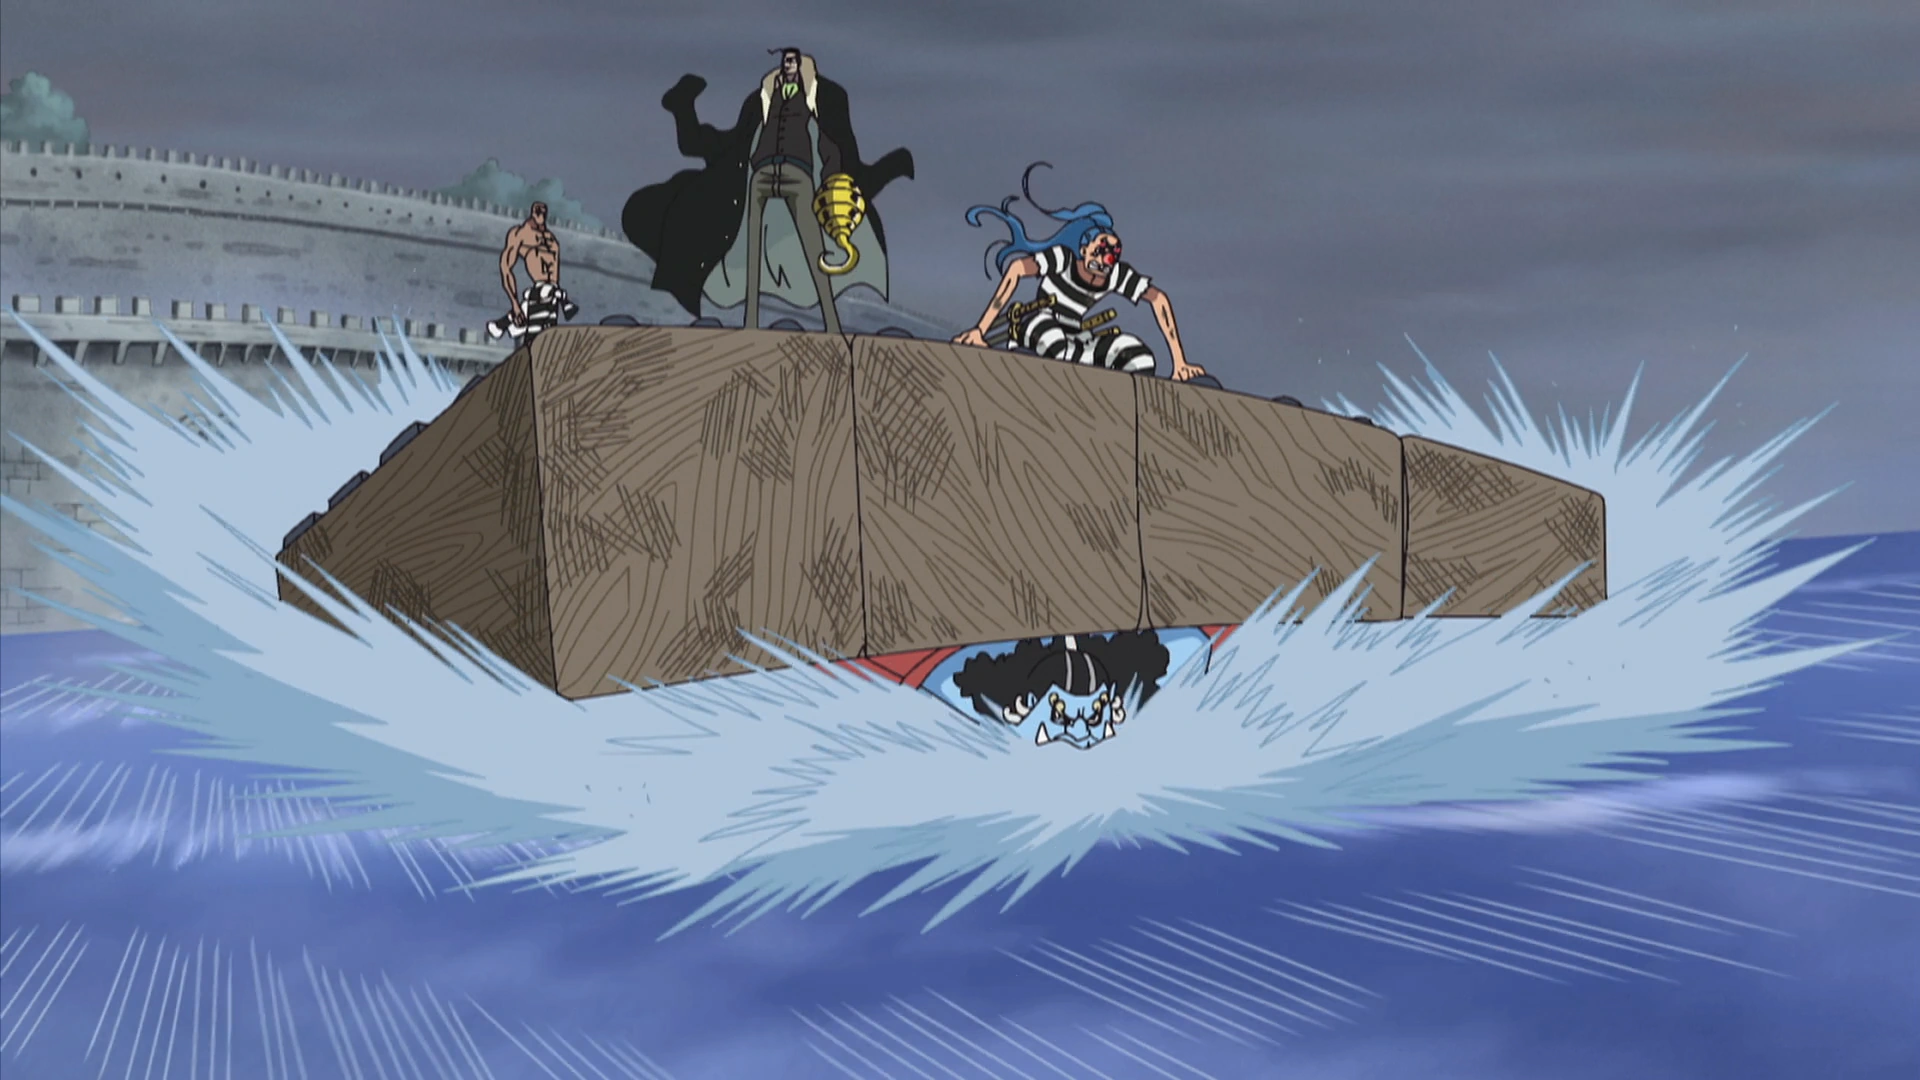
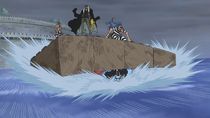
Buggy on a raft with Crocodile and Mr. 1 before attacking a Marine battleship.
As Luffy and Galdino battled Magellan, Buggy led the prisoners to the outside of the prison only to find that there were no ships docked at the shore. Jinbe of the Seven Warlords of the Sea responded by ripping off one of the doors and taking Buggy, Crocodile, and Daz Bonez across the water to the Marine battleships in the distance. Jinbe used Fish-Man Jujutsu to propel the trio onto one of the ships, and Buggy was left incapacitated by the landing while Crocodile, Daz, and Jinbe defeated the Marines onboard.[69] The prisoners celebrated as they all boarded the hijacked battleship and set sail, but they quickly found themselves under attack by the rest of the Marine fleet and were heading toward a dead end as the Gates of Justice were closed. However, the Gates were then opened by Bentham, who had stayed behind, and the prisoners all tearfully thanked him when Luffy called him. Thanks to his actions, they were able to pass through the Gates and successfully escape from Impel Down.[70]
While the other escapees mourned Bentham's presumed sacrifice, Buggy did not think much of it, causing Luffy to punch him. Buggy and the prisoners were shocked to find out that Luffy and his allies intended to go to Marineford to save Ace. The escapees were then contacted by Marine Headquarters, who stated that they had identified both Luffy and Buggy as masterminds behind the mass breakout after having discovered that Buggy was once a member of the Roger Pirates. This caused the escapees to admire Buggy even more, and he decided to use this revelation to build up his reputation to the point of dreaming of becoming Pirate King. The prisoners were so infatuated with Buggy that they offered to help him mutiny against Luffy's group and escape from the Tarai Current, but Buggy instead decided to follow the course and go to Marineford for the chance to take down Whitebeard.[71]
Marineford Arc[]

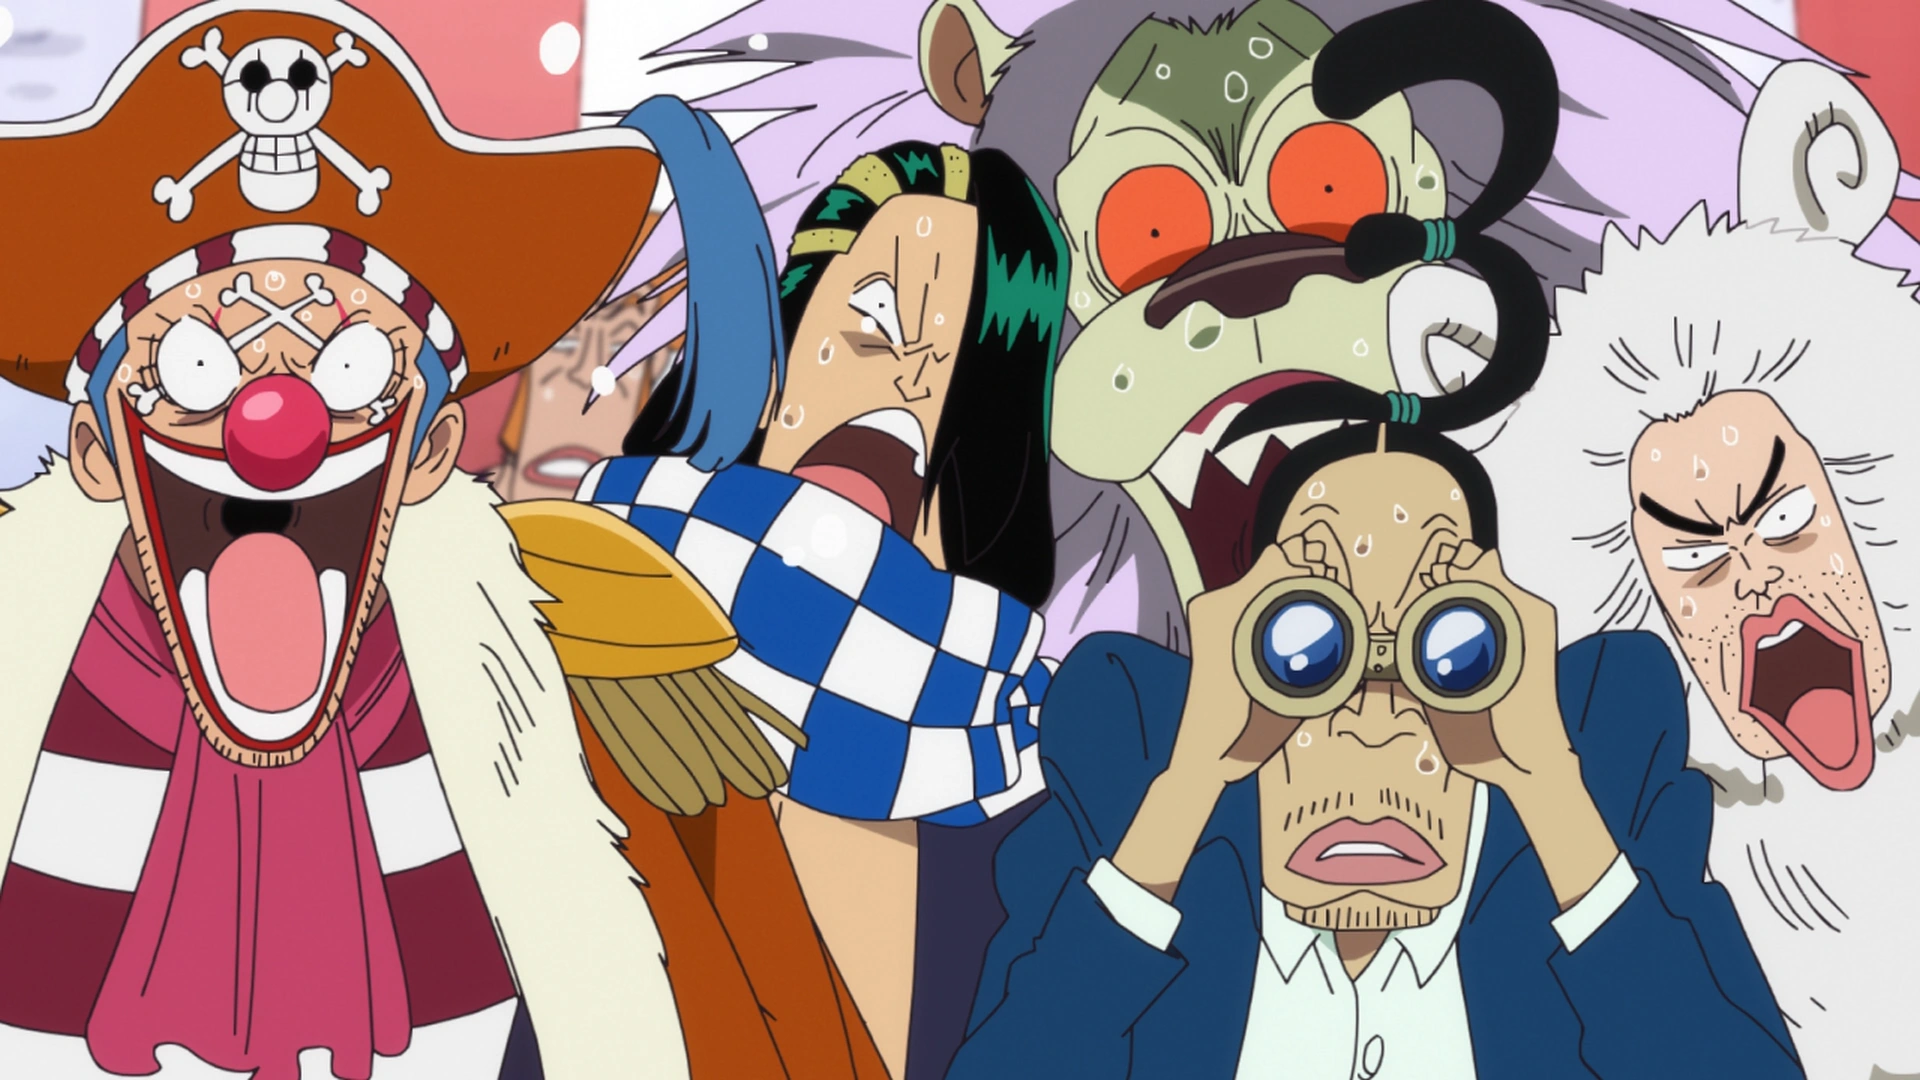
Buggy arrives at Marineford along with the rest of the Impel Down escapees.
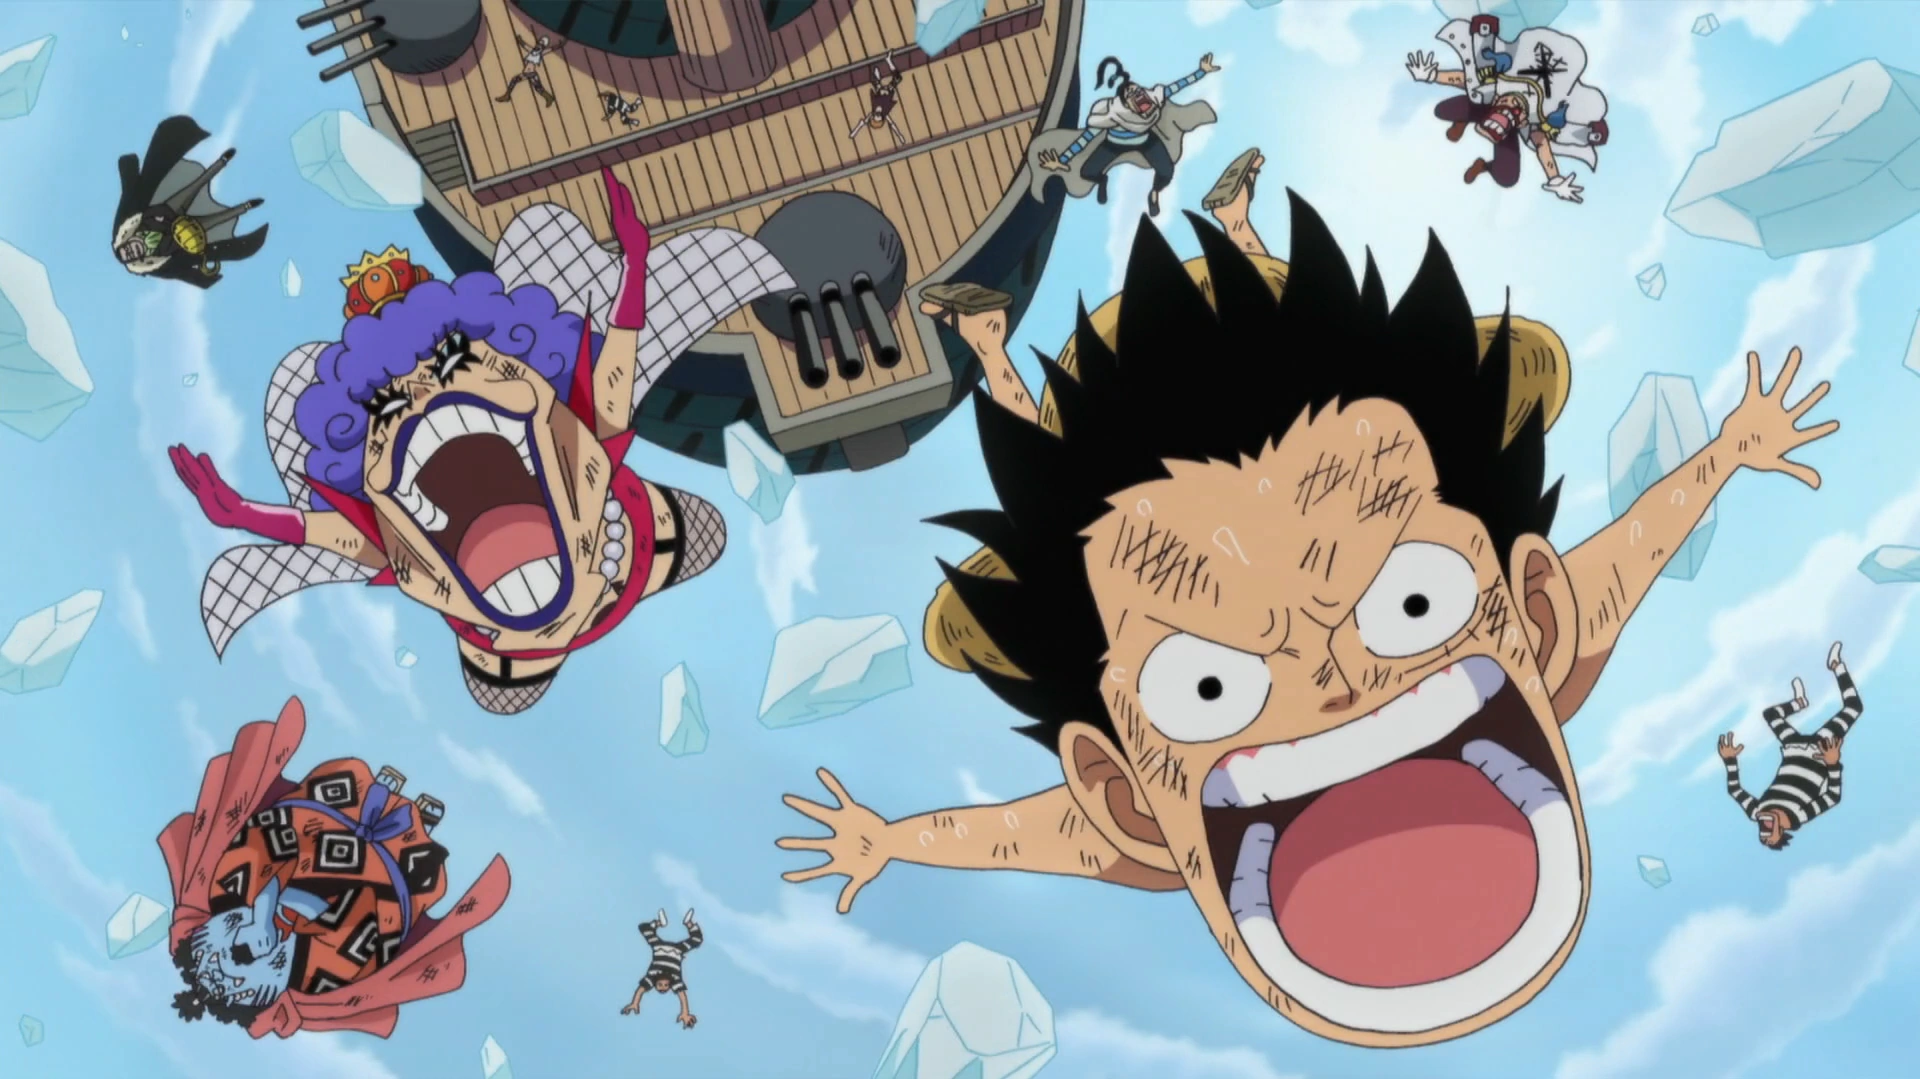
Although Marine Headquarters had said they would not open the Gates of Justice to Marineford, the Gates unexpectedly opened when the escapees got there. Buggy acted like he was responsible to earn the escapees' admiration, though he had no idea who actually opened them.[72] As the escapees neared Marineford, they were suddenly carried up by a massive tsunami created by Whitebeard, only to become stuck high in the air when Admiral Aokiji froze it. They saw that they were right above Marineford, and Luffy got the idea to slide the ship down the slope of the frozen wave. However, as they rushed to dislodge the ship, the ice beneath them gave out and they fell into the frozen Marineford Bay below. The escapees miraculously landed in a small unfrozen spot, and Jinbe pulled Buggy out of the water.[73]

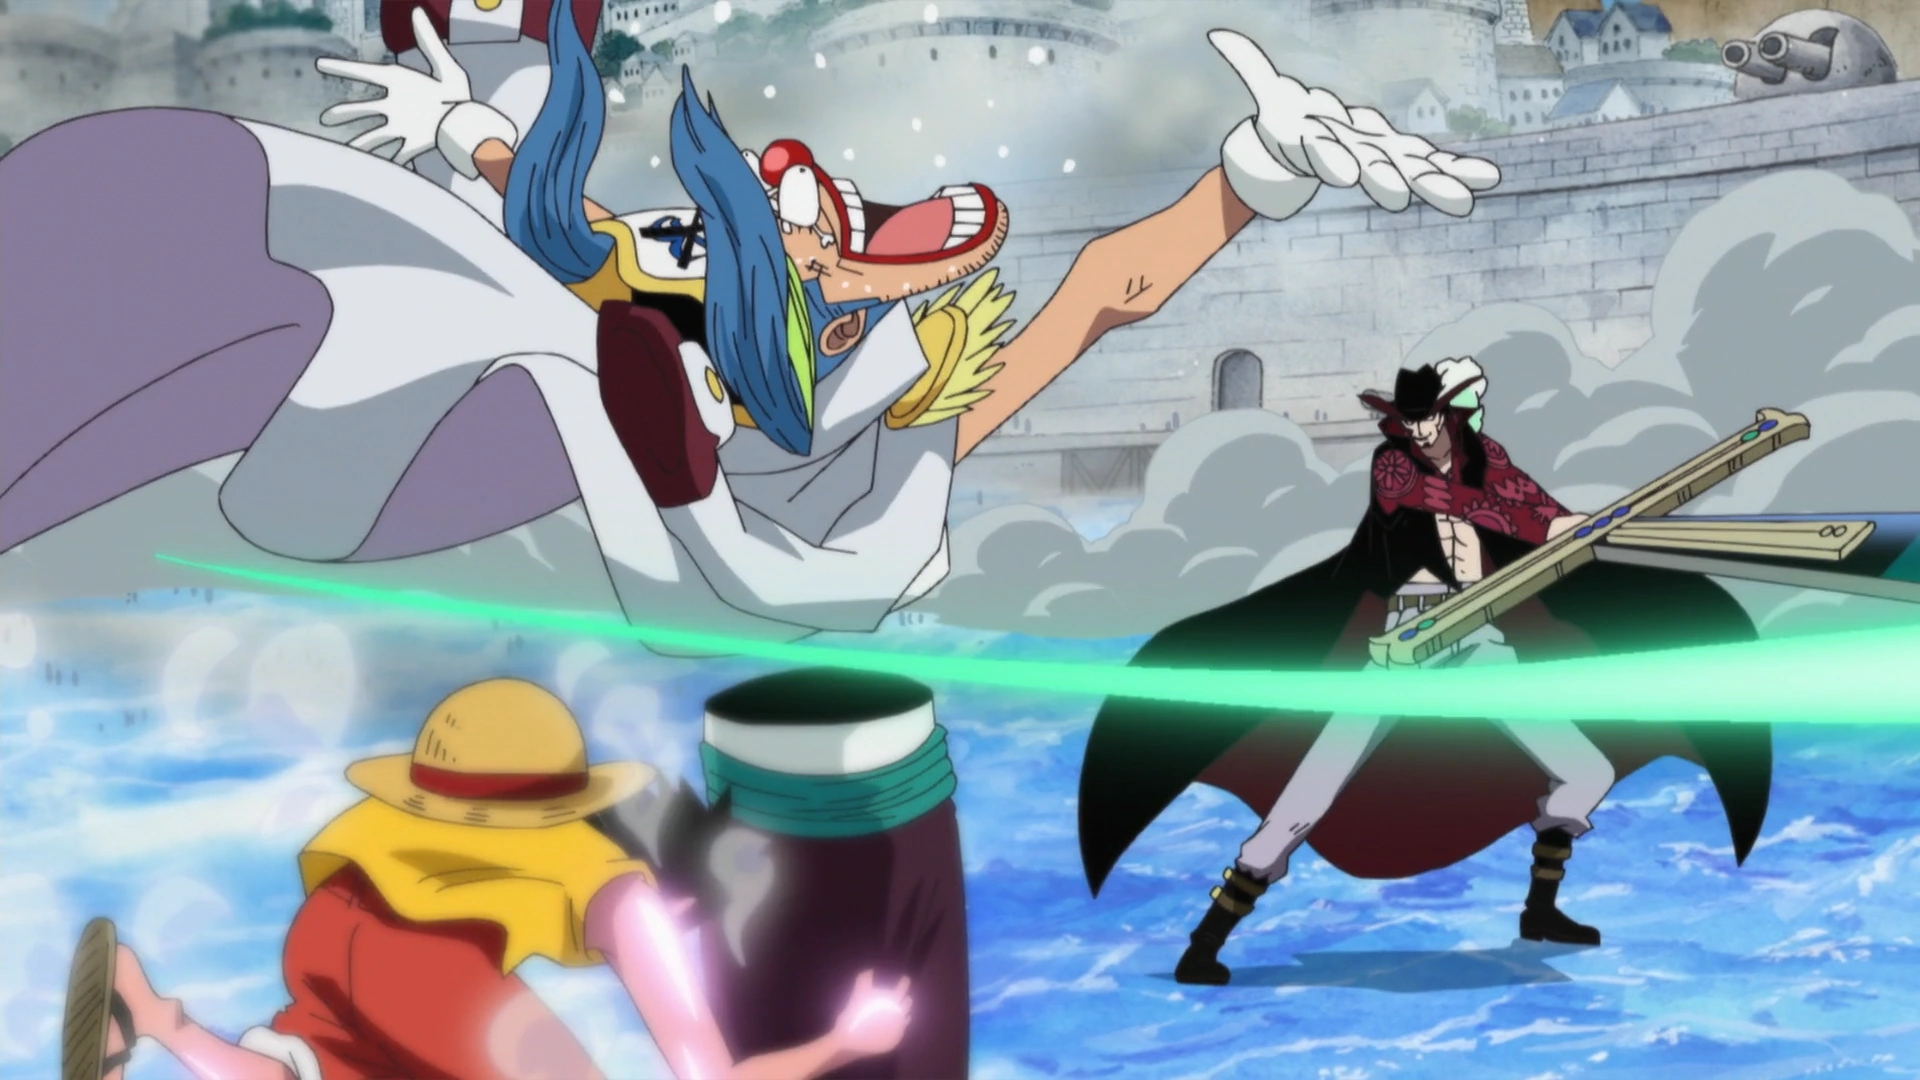
Buggy being used by Luffy as a shield.
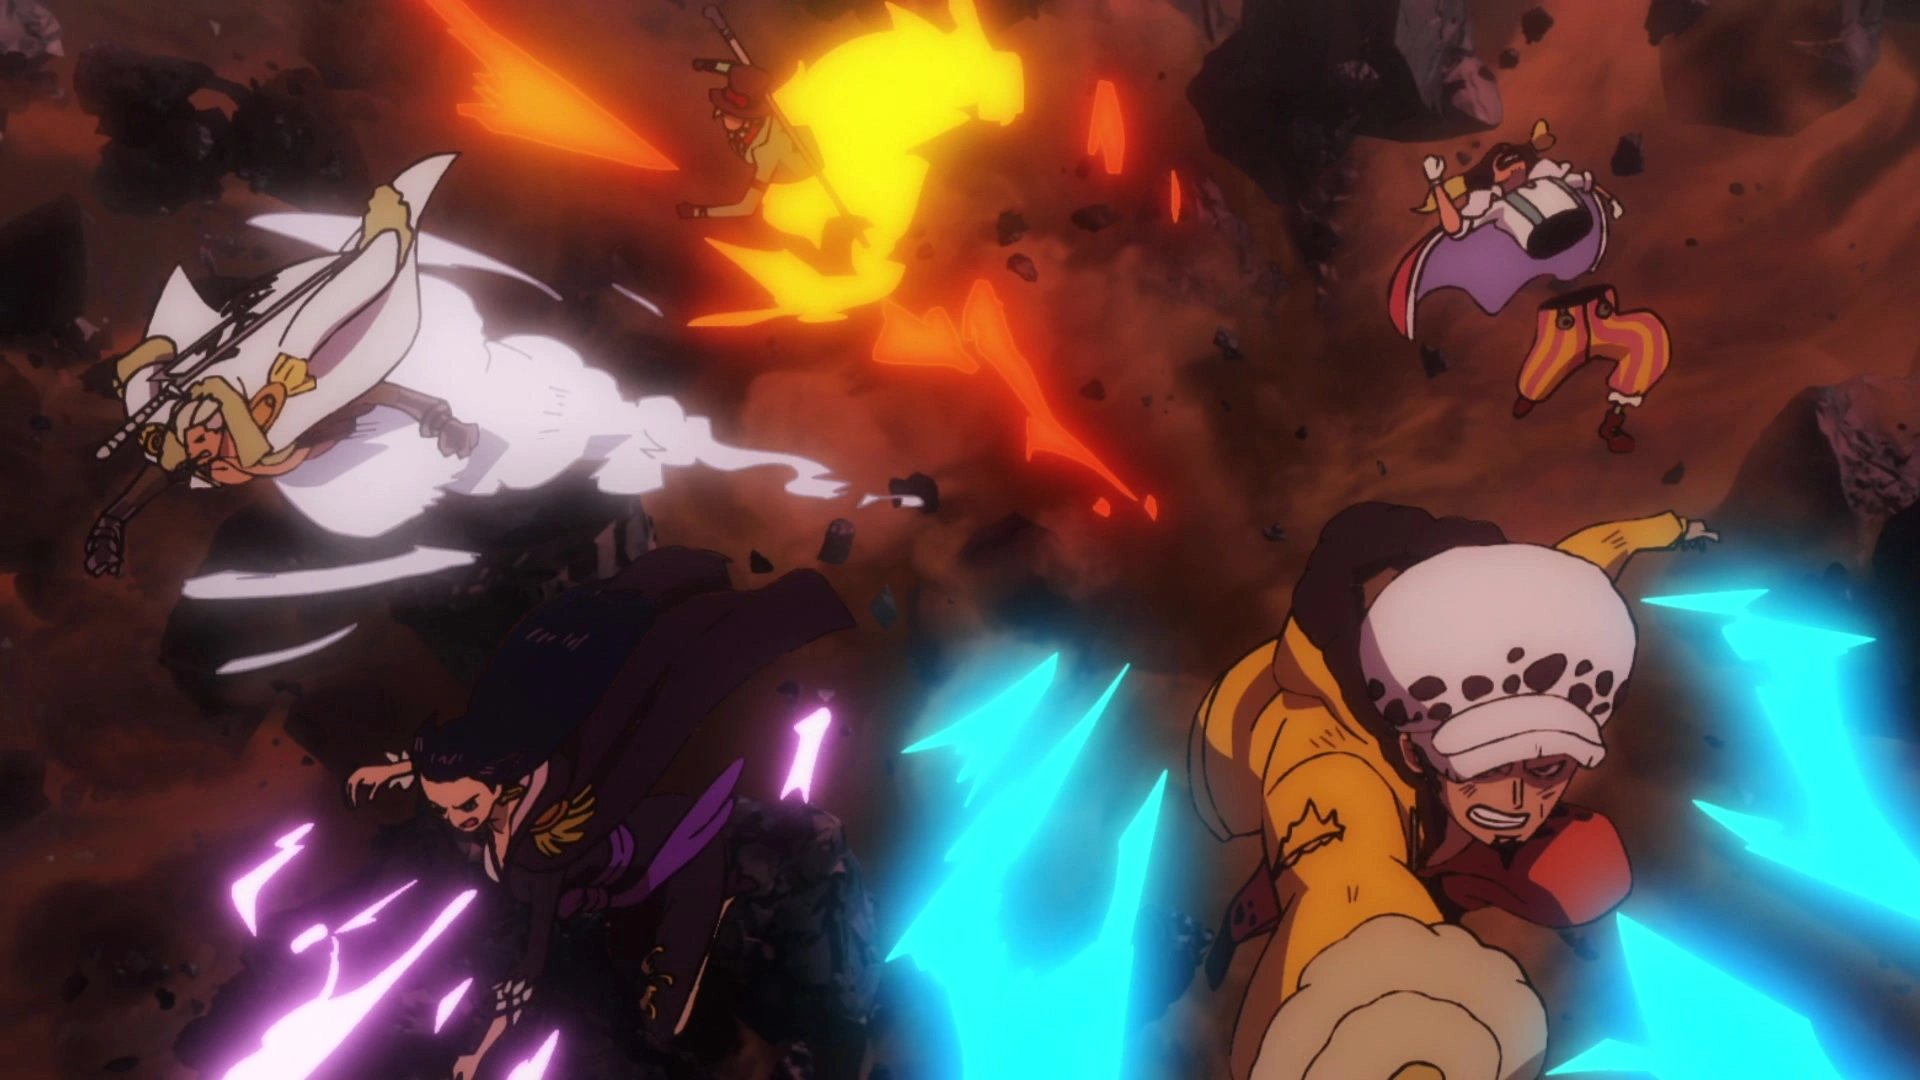
Buggy immediately became afraid when Luffy and Ivankov began battling Admiral Kizaru and said he wanted to go home; however, the escapees misheard him as saying he wanted to kill Kizaru and so admired him.[74] The escapees grew restless, wanting Buggy to lead them into battle against Whitebeard before Luffy took all the glory. Whitebeard then called out to Buggy, claiming that the Marines were giving even his crew trouble and offering to form an alliance to defeat them before Buggy went after his head. Buggy quickly agreed, as Whitebeard's words had easily stoked his pride.[75] When Luffy led the Whitebeard Pirates toward Ace's execution platform, Buggy led the escapees into battle to bring glory to his name.[76] Crocodile created a sandstorm while fighting Donquixote Doflamingo, and Buggy was inadvertently caught in it. While flying around, he was pulled down by Luffy to intercept Dracule Mihawk's sword strikes with his body. Buggy got angry at Mihawk for slicing him up and threw a Muggy Ball at him, only for Mihawk to deflect it back at Buggy and cause it to detonate on him.[77]

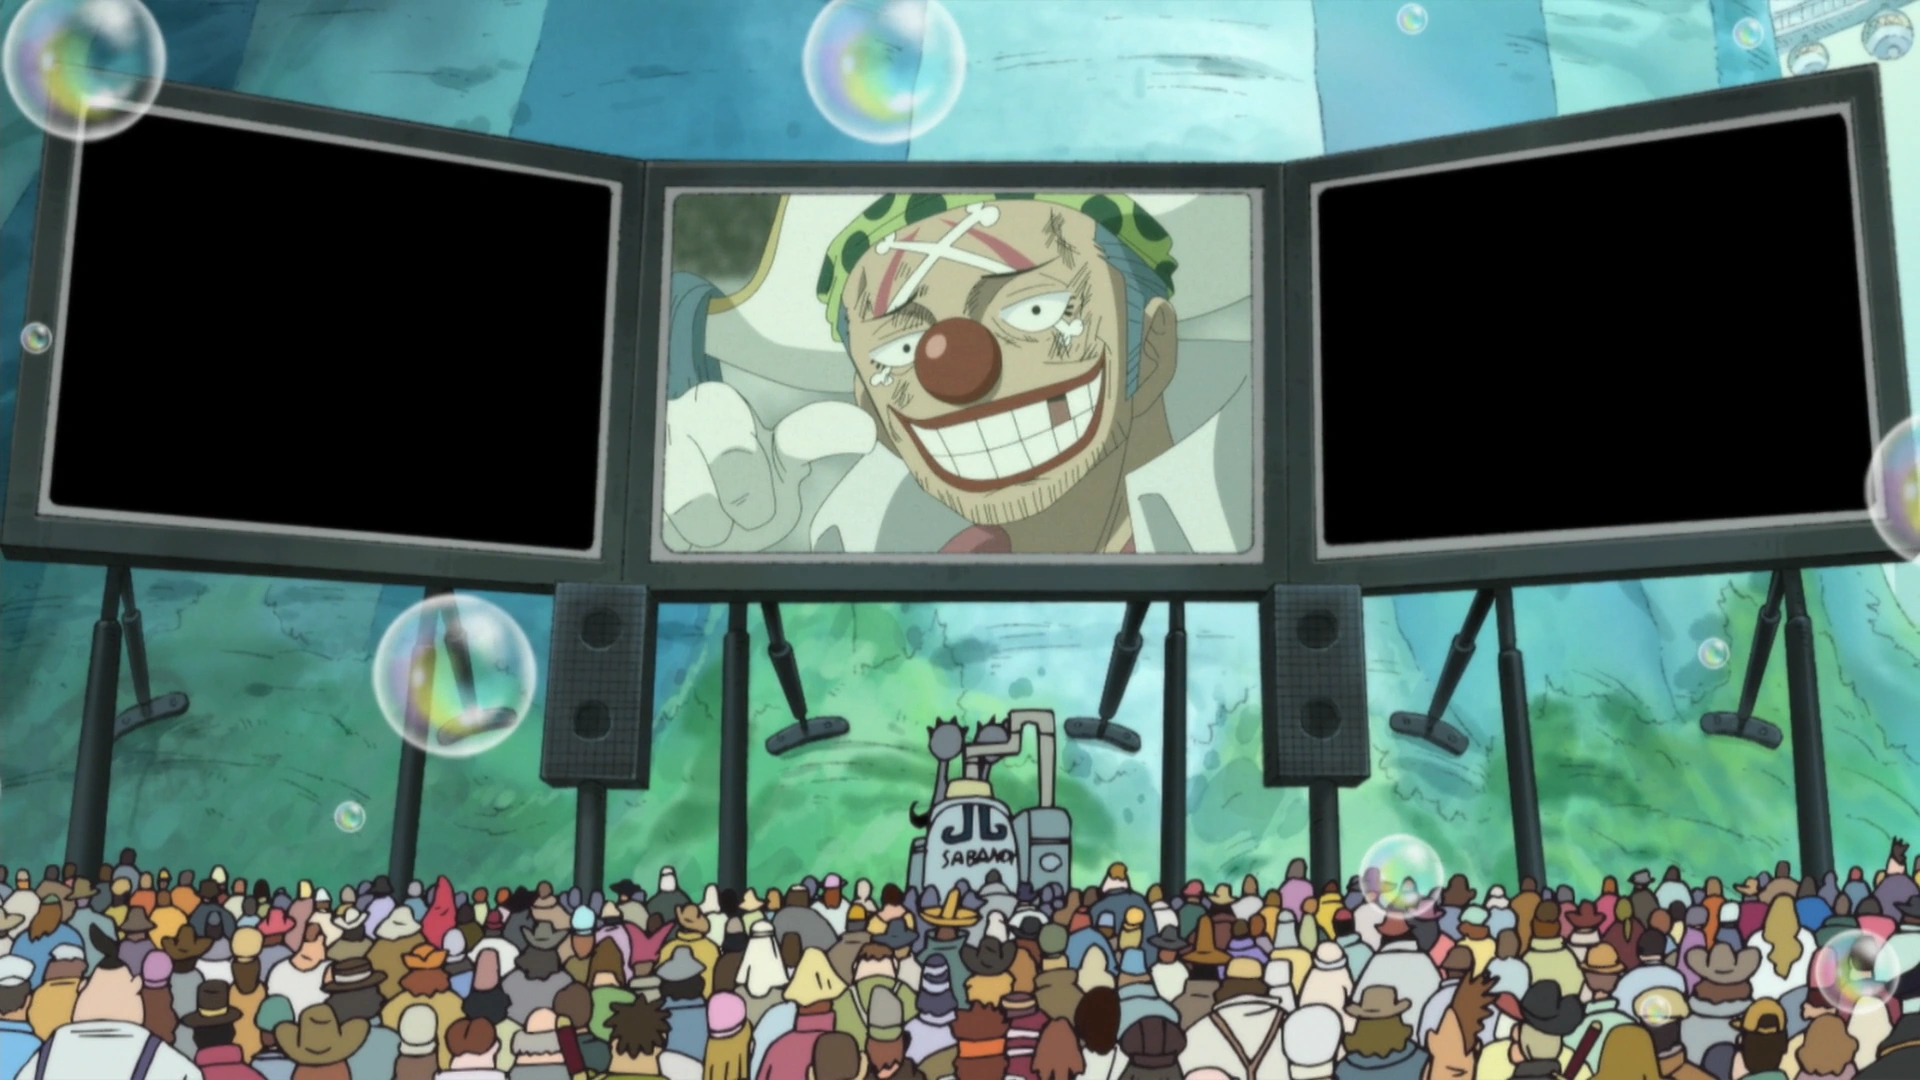
Buggy on television.
Buggy quickly recovered from the explosion with only minor injuries and had his followers film him with a Video Den Den Mushi stolen from Impel Down; he used this to introduce and proclaim himself to the audience watching the war broadcast on the Sabaody Archipelago.[78] However, Aokiji quickly stopped the broadcast by encasing Buggy and his men in ice.[79] They were unfrozen not long afterwards when Admiral Akainu attacked the bay with magma fists, and Buggy swore revenge on the Marines, to his followers' delight.[80]

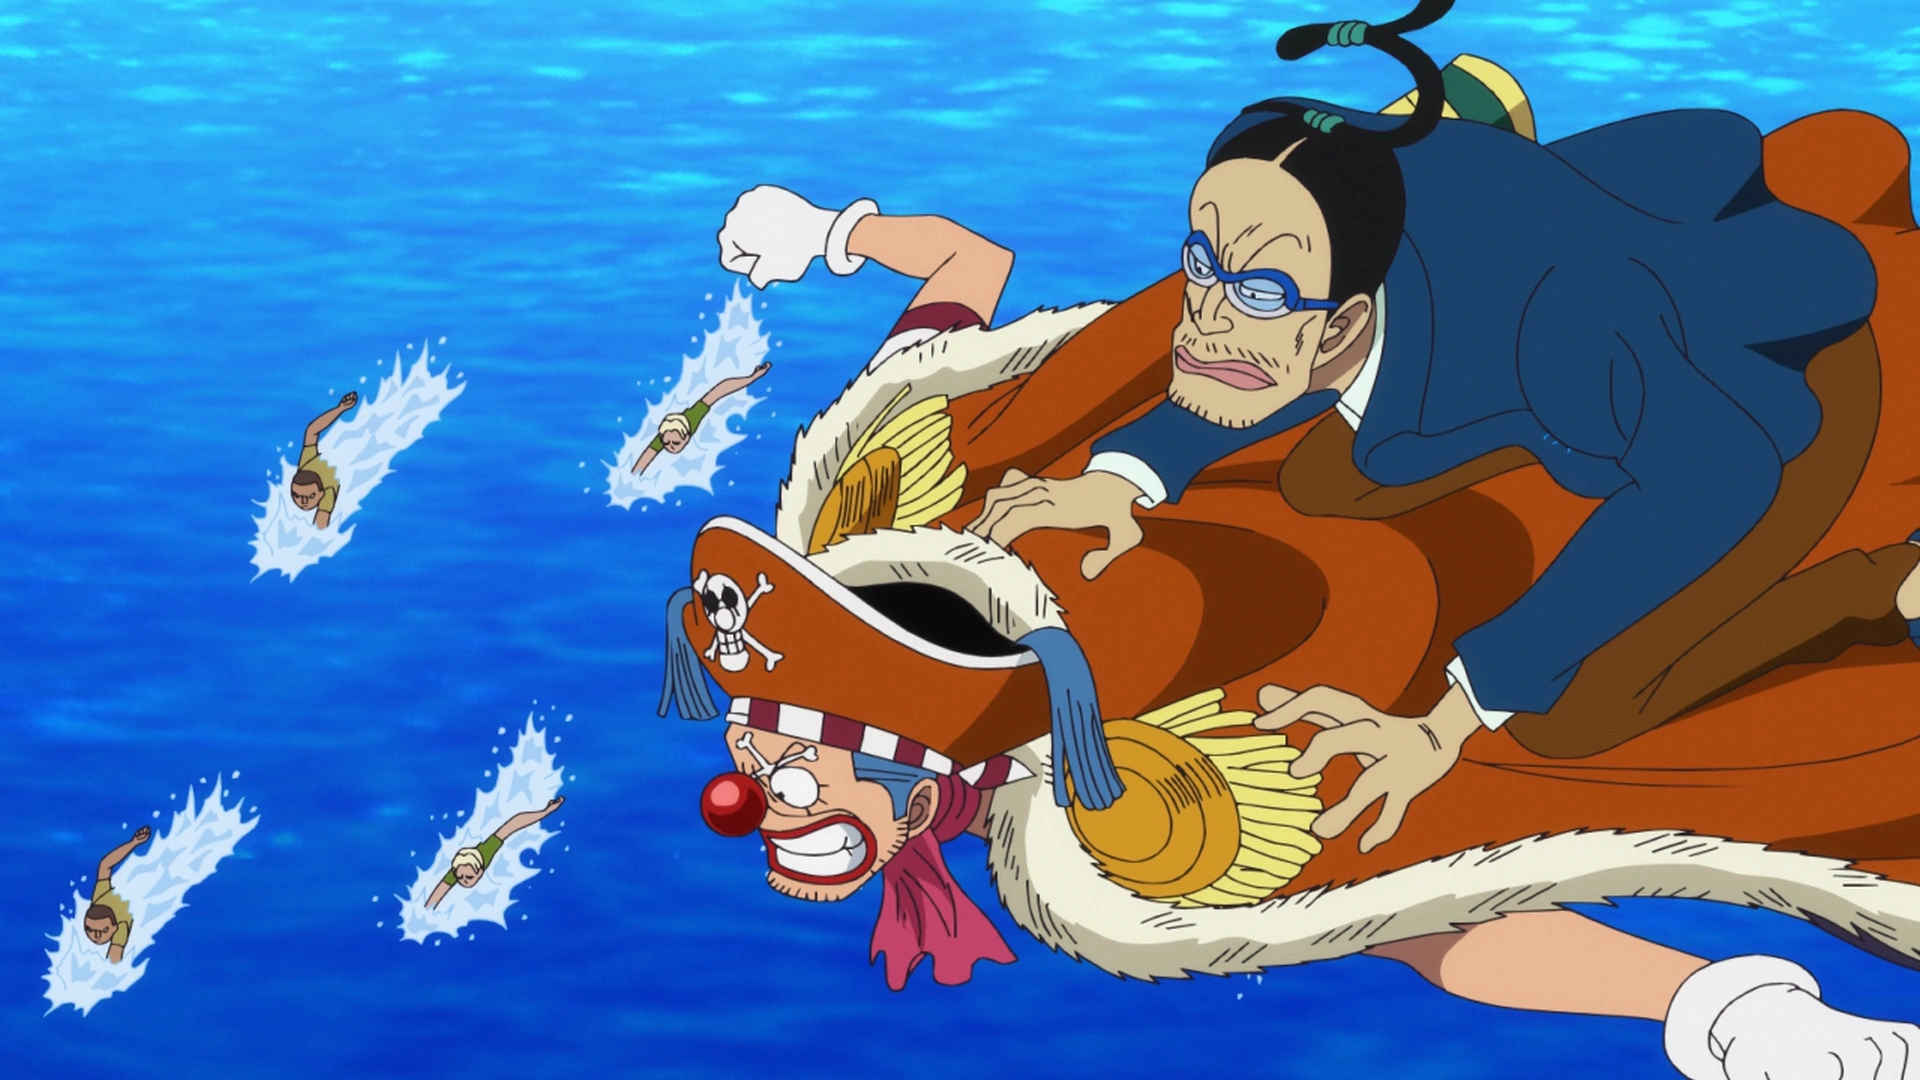
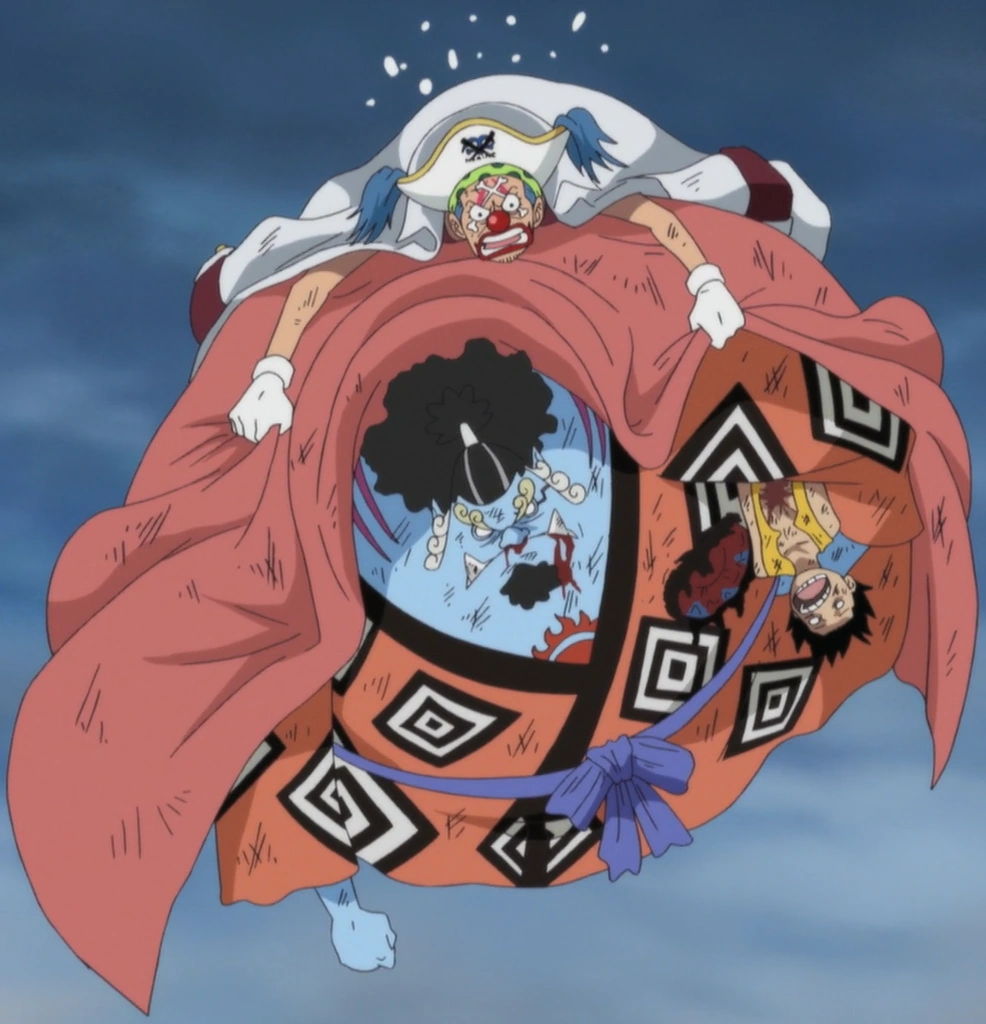
Buggy carrying Jinbe and Luffy.
The Video Den Den Mushi later regained consciousness, allowing Buggy to start broadcasting himself and his plot to take down Whitebeard to Sabaody again.[81] However, Buggy then watched as Ace was killed by Akainu and Whitebeard met his end at the hands of the Blackbeard Pirates. He got scared of the events that transpired and ran away, though his followers mistook his fear for a respectful mourning of Whitebeard as a true rival.[82] As Buggy was flying away, a severely injured Luffy and Jinbe then flew into his arms after being propelled up by one of Crocodile's sandstorms, forcing Buggy to avoid Akainu's relentless attacks. Buggy panicked about what to do with Luffy and Jinbe, when suddenly the pirate Trafalgar Law arrived on his submarine and told Buggy to bring them to him.[83] After Buggy did this, Shanks and the Red Hair Pirates arrived to end the war.[84]
Shanks threw Luffy's straw hat at Buggy, offering him a treasure map if he returned it to Luffy. Buggy happily complied, only to find out afterward that Shanks was lying. Buggy became very angry at his former crewmate as a result, and his followers were awed by him confronting one of the Four Emperors. However, Buggy quickly calmed down so that he could safely leave Marineford with the other pirates.[85]
Post-War Arc[]

Buggy shows Captain John's armband to Alvida.
Buggy managed to find and reunite with his crew on an unnamed island, and his crewmates introduced themselves to Galdino and his many other powerful subordinates from Impel Down. Buggy showed Captain John's treasure mark to Alvida, and immediately afterwards, he received an invitation from the World Government[86] to become a Warlord of the Sea.[7]
During the Timeskip[]
Buggy accepted the invitation to join the Seven Warlords and used his newfound freedom to founded a mercenary dispatch service called Buggy's Delivery.[7]
The following events are Non-Canon and therefore not considered part of the Canon story.
3D2Y[]

Buggy and his crew surprised to see Luffy and Boa Hancock fighting together on the Groseade.
When Luffy and Boa Hancock had just begun fighting against Sebastian, the Buggy Pirates arrived in the area by coincidence and saw the fight ensuing on the Groseade. Buggy then walks up to his crew and asks who they are fighting, to which is then informed by Mr. 3 that it was the World Pirates and that they were the reason that the Seven Warlords were summoned. Buggy is then surprised by the coincidence and the fact that Luffy was fighting the World Pirates; however, after prompted by his crew to fight World, Buggy decided to let Luffy take down World and then take credit for it. He then tells his crew to alert the world that the Buggy Pirates were fighting with the World Pirates with the intention of letting the Marines know that a fight was occurring as to attract the Admirals over there and let the Marines take over the fight in case anything went wrong.
When it appeared that Sebastian had gained the upper hand, Buggy worried that Luffy and Hancock would lose. However, when Sebastian is defeated by Perona, he directs his attention to the hovering girl and, to his surprise, discovers that Perona was accompanying Mihawk. Buggy immediately wondered why Mihawk was there, to which both him and Galdino then realize that Mihawk would be an asset to defeating World, but then Buggy quickly worried that Mihawk was there to take credit. In response, Galdino recommended that they leave their trace and so Buggy ordered the crew to invade the enemy ship.
On board the ship, Buggy alerted his crew to stop when he noticed World's presence. They then watched as World fought Luffy, to which Buggy fell into a state of shock after World easily defeated the young pirate. He then realized that his plan was bound to fail if Luffy was defeated and so ordered his crew to immediately revive him, which is misinterpreted by the Impel Down escapees as Buggy caring for his friend. Later, while his crew treated Luffy, Buggy continuously slapped him to wake him up. After a while, he succeeded and stated that it went all as planned.
Later, while walking through the hallways of the ship, Buggy and his crew encountered Gairam and was told by him that they had trespassed and that they would be killed for doing so. Buggy and his crew were then caught between an onslaught of cubes created by Gairam's Kyubu Kyubu no Mi. While dodging the attack, Buggy noticed a flattened Luffy that had floated down from between the cubes and then screamed at him for still being there. Buggy then told Luffy to just hurry up and go defeat World, which is misinterpreted by the Tightrope Walking Funan Bros as words of encouragement when, in reality, Buggy was just thinking about how his plan would end in failure in World was not defeated. Upon hearing the cheers from his crew, Buggy then told Luffy that he would handle Gairam, thinking that there could be no way from him to be defeated with so many Impel Down escapees under him. To his surprise, however, Gairam then compressed the air around him into a cube and attacked them with his Air Cube Booster. Mr. 3 then used his Candle Wall to block the attack and told them to run.

Buggy is turned into a cube.
Buggy then ran deeper into the ship but then learned that it was a dead end and before he could do anything, Gairam turned him into a cube by using Cube Break. Gairam then sent cubed pieces of the floor flying at Buggy, but Buggy simply kept jumping on top of them and mocking Gairam in the process. However, Gairam then began knocking off the cubes that Buggy jumped on until Buggy was within hitting range. Before, Gairam could hit him, Buggy used Bara Bara Kinkyu Dasshutsu to escape and, in the process, became decompressed. He then summoned back his body parts but became Chibi Buggy when Gairam held down Buggy's body. When Mr. 3 asked him what his next move was, Buggy revealed that he still had a secret attack and that he was going to use the Muggy Ball to attack Gairam and retrieve his torso. After using his Special Muggy Ball, the attack created a big cloud of smoke and while Gairam was blinded, Hancock jumped out and turned Gairam to stone. The crew, oblivious to the fact that Hancock defeated Gairam, cheered on Buggy for his victory, to which a surprised Buggy happily took credit for.

The Buggy Pirates withdraw from the World Pirates' ship.
Soon after, the crew found the exit to the ship. Upon exiting, Buggy commented that they could finally escape, but is told by Mr. 3 that the rest of the crew could hear what he was thinking, and so, quickly said that he had gone the wrong way and had intended to find the location of World. One of his men then told him that Marine ships were approaching, to which Buggy became surprised at their presence. He is then reminded by Mr. 3 that he was the one that told for them to be called over there. Buggy then tried to tell the Marines that it was him, the new Warlord, that was on the ship fighting with World, but the Marines did not recognize him and are ordered by Akainu to fire. Buggy and his crew narrowly escaped the onslaught of cannon fire as he flied through the air with Mr. 3 on his back and his crew swam back to their ship carrying his feet.
Afterwards, the newspapers gave credit to Buggy for defeating Byrnndi World.[87]
Concludes non-canon section.
Whole Cake Island Saga[]
Zou Arc[]
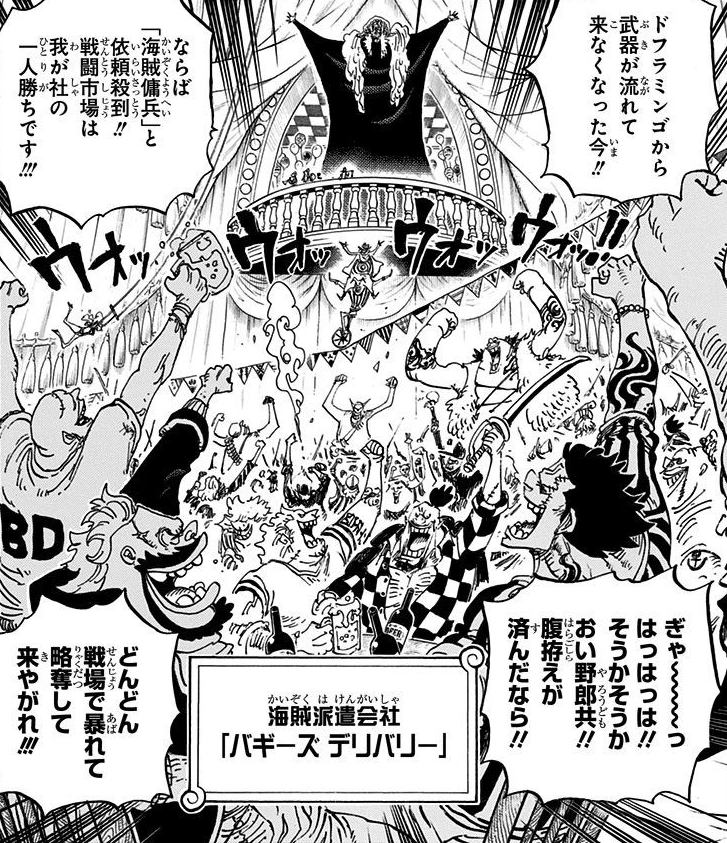
Buggy and his mercenaries celebrate Doflamingo's downfall.
Buggy first appeared after the timeskip at Karai Bari Island's Buggy District, celebrating Donquixote Doflamingo's downfall which was a great benefit to his business. However, he was then enraged to hear from Mohji that Hajrudin and his crew had quit Buggy's Delivery.[3]
The Stories of the Self-Proclaimed Straw Hat Grand Fleet[]
After resigning from Buggy's Delivery, Hajrudin and his crew sailed away from Buggy's headquarters, leaving Buggy furious at their resignation. Buggy then put all their names on his deserter list.[88]
Wano Country Saga[]
The following events are Non-Canon and therefore not considered part of the Canon story.
One Piece: Stampede[]

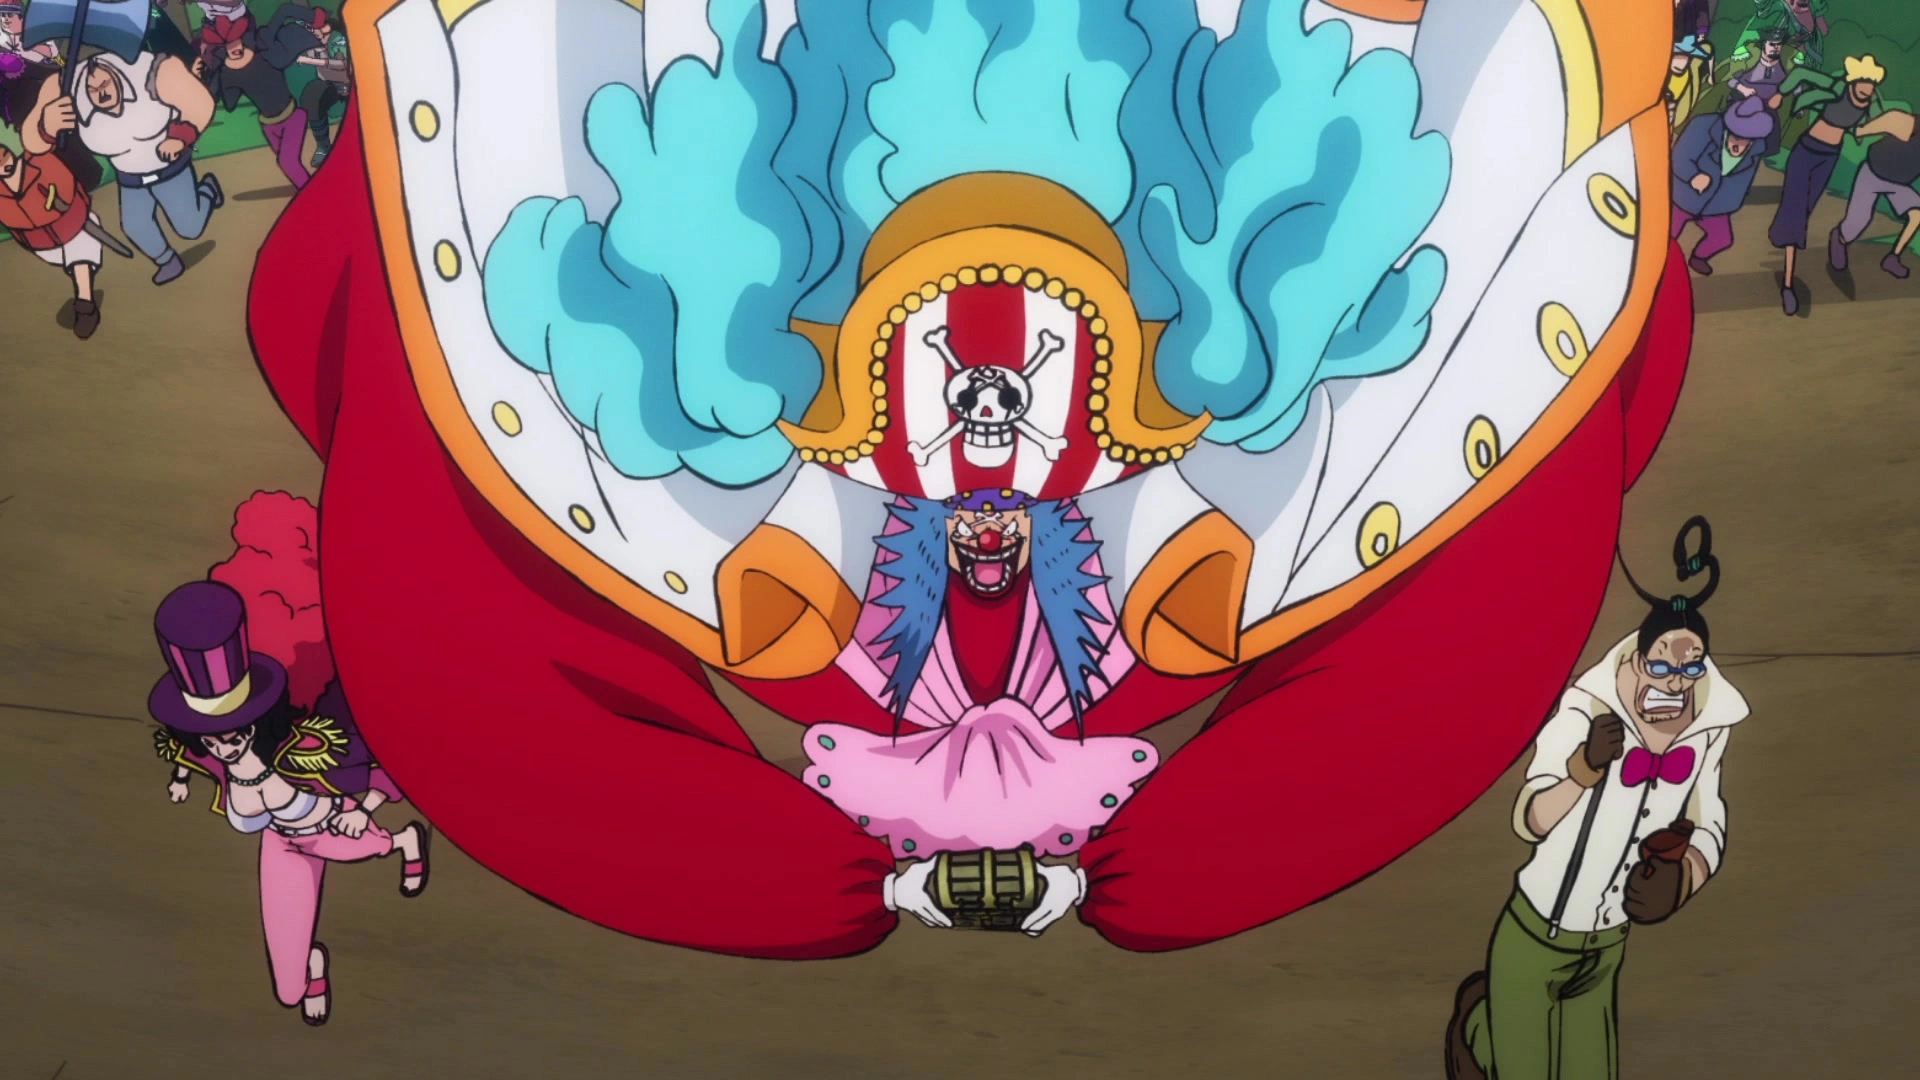
Buggy, Galdino and Alvida run with Roger's treasure in their hands.
Buggy and his crew were hired by Buena Festa as security for the Pirates Festival. However, after Trafalgar Law managed to infiltrate the underground and escape, the entire crew was in a rush to find him, for fear of having their pay cut. Unfortunately, just as they found him, Law used his ability to stowaway on the passing Thousand Sunny. They attempted to pursue the Straw Hat Pirates in order to capture Law but were blown away as the Straw Hat Pirates used Coup de Burst to fly up the Knock Up Stream. The crew did ultimately succeed in getting up to the island and were unseen by the other pirates. Buggy used this to his advantage and successfully reached Roger's treasure while everyone else was fighting. He then exposed himself after getting the treasure, causing the other competing pirates to chased after him. However, as he was running away, he decided to take a peek at the treasure, and seeing that it was an Eternal Pose to Laugh Tale, he became visibly shocked. A ship was then thrown at the treasure island, destroying it and sending everyone falling back to Delta Island, with Buggy losing the treasure in the process.

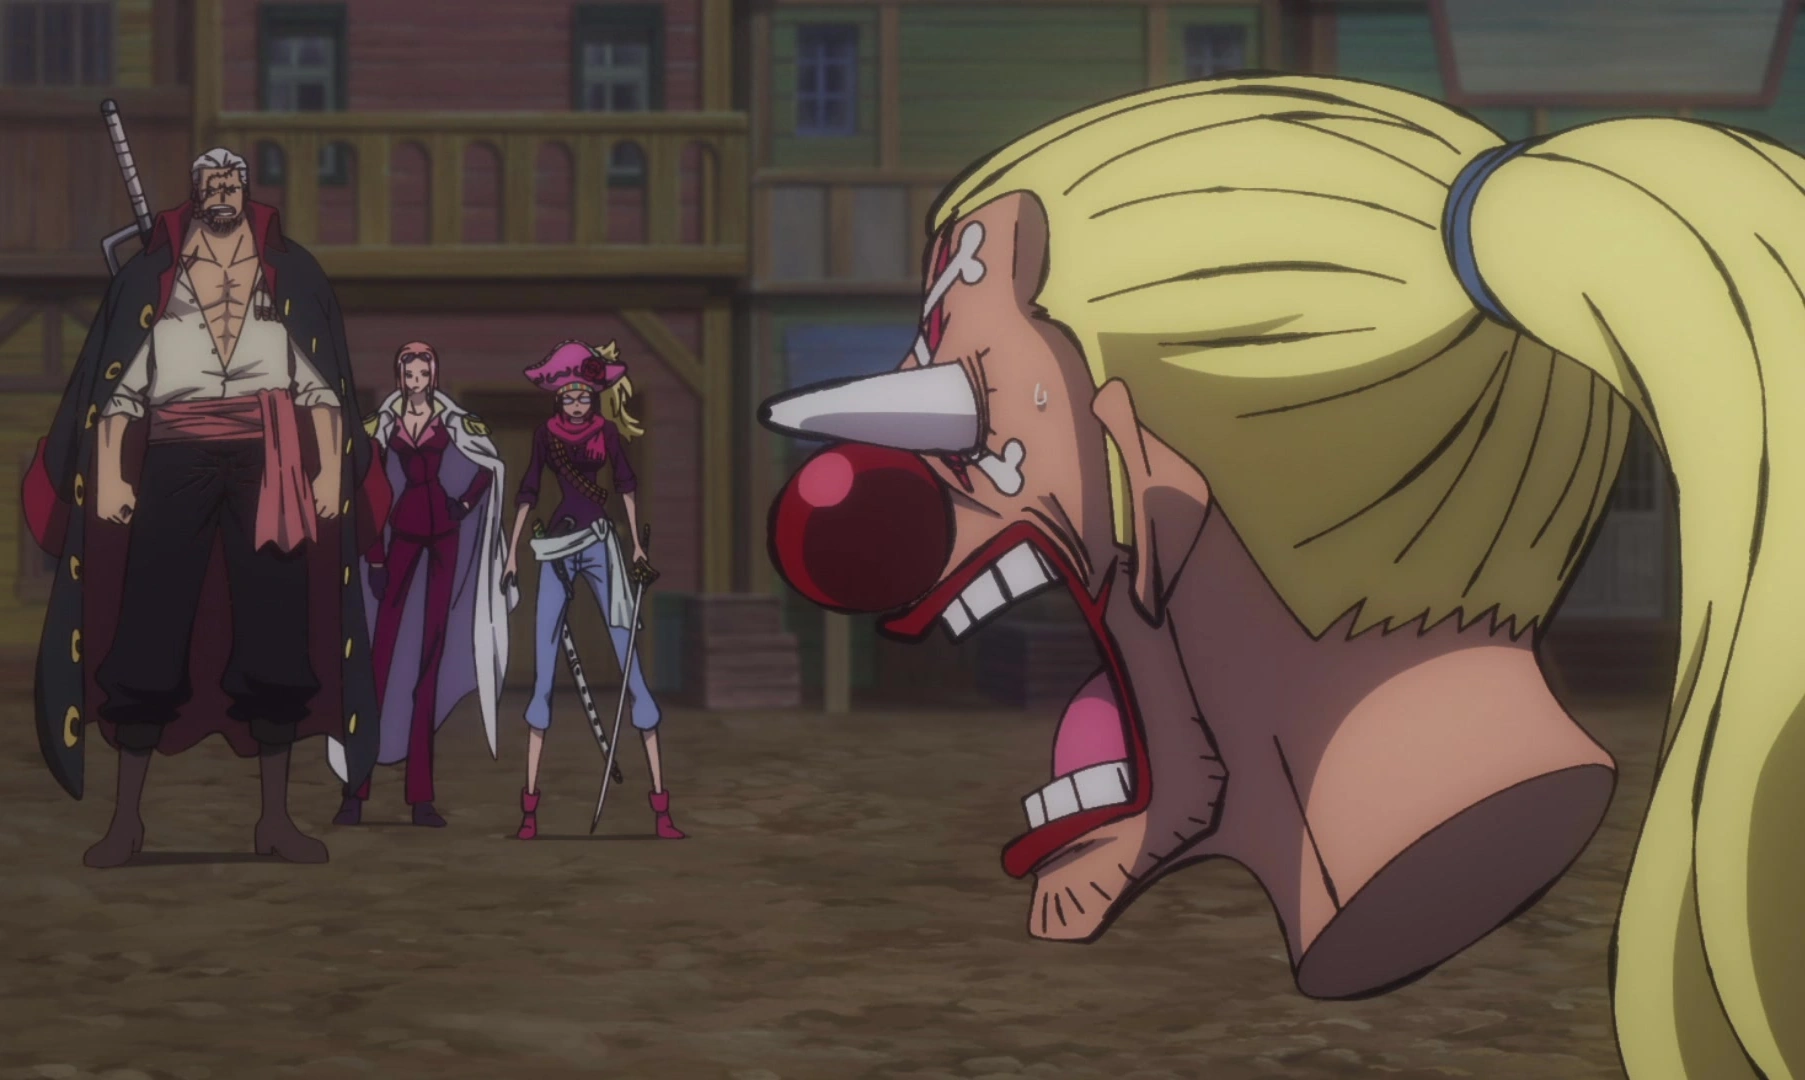
Buggy meets the Marines on Delta Island.
After Buggy was saved from drowning by his crew, he was shocked to see Douglas Bullet, his former crewmate on the Roger Pirates. As Bullet confronted members of the Worst Generation, Buggy and the other pirates attempted to flee the island. However, they were confronted on the coast by a Marine fleet, with the Marines and Pacifista landing on the island to battle. As Dracule Mihawk and Boa Hancock appeared, Buggy decided to sneak away. He was later accidentally caught by Smoker, who forced him to reveal what the treasure was.

Buggy, Law, Smoker, Hancock and Sabo attack Bullet together.
Bullet later tore apart the island with his Gasha Gasha no Mi ability, forming a massive fighting colossus, with Buggy ending up buried in the rubble in the chaos. He was eventually pulled out by Hancock (who was actually looking for Luffy), and soon afterward the two of them confronted Smoker and Sabo. Smoker, Hancock, and Sabo started working with Law and Monkey D. Luffy to attack Bullet's colossus, and they succeeded in blowing off one of its arms. Buggy saw that the massive arm was falling onto him, and when he realized that he could not run away in time, he threw a Muggy Ball at it to destroy it, though it was completely ineffective, and was instead destroyed by Rob Lucci's Rankyaku (though Buggy mistakenly believed that it was his doing). He was then pulled in by Law to do a concentrated combo attack on the colossus.
Bullet was defeated soon afterward by the alliance, and Buggy reunited with his crew as they departed from Delta Island. They were confronted by a Marine fleet, but were able to pass through it thanks to other pirate ships flanking them and Sabo creating a wall of fire between them and the fleet.[89]
Concludes non-canon section.
Wano Country Arc[]
After the abolition of the Seven Warlords system, Buggy's Delivery was confronted by a Marine fleet led by Stainless, making Buggy furious at this turn of events. He ordered his men to prepare to fight but secretly planned to flee by himself.[90]
Final Saga[]
Egghead Arc[]
While trying to make an escape plan, Buggy's workers told him to fight, prompting them to question if he's afraid of the Marines. Buggy was then alerted that all the ships around Karai Bari Island were under attack. Buggy then saw it was Crocodile, leading to the workers believing the rumors that Crocodile was Buggy's henchman. Shocked and panicked at the thought of Crocodile coming to collect the money he owed him, Buggy viewed his savior as a worse option than the Marines. Following the ships sinking, Buggy informed Crocodile that his organization was not profitable, and he did not have the money to pay him back, leading to Crocodile suggesting selling Buggy into slavery or to make it up to him as he was starting up a new company that required funds. Buggy then offered to help Crocodile freely, without charge. With the formation of the Cross Guild between the two and Dracule Mihawk, Buggy's workers made a poster, promoting the new organization and the three members, emphasizing Buggy on it.[91]

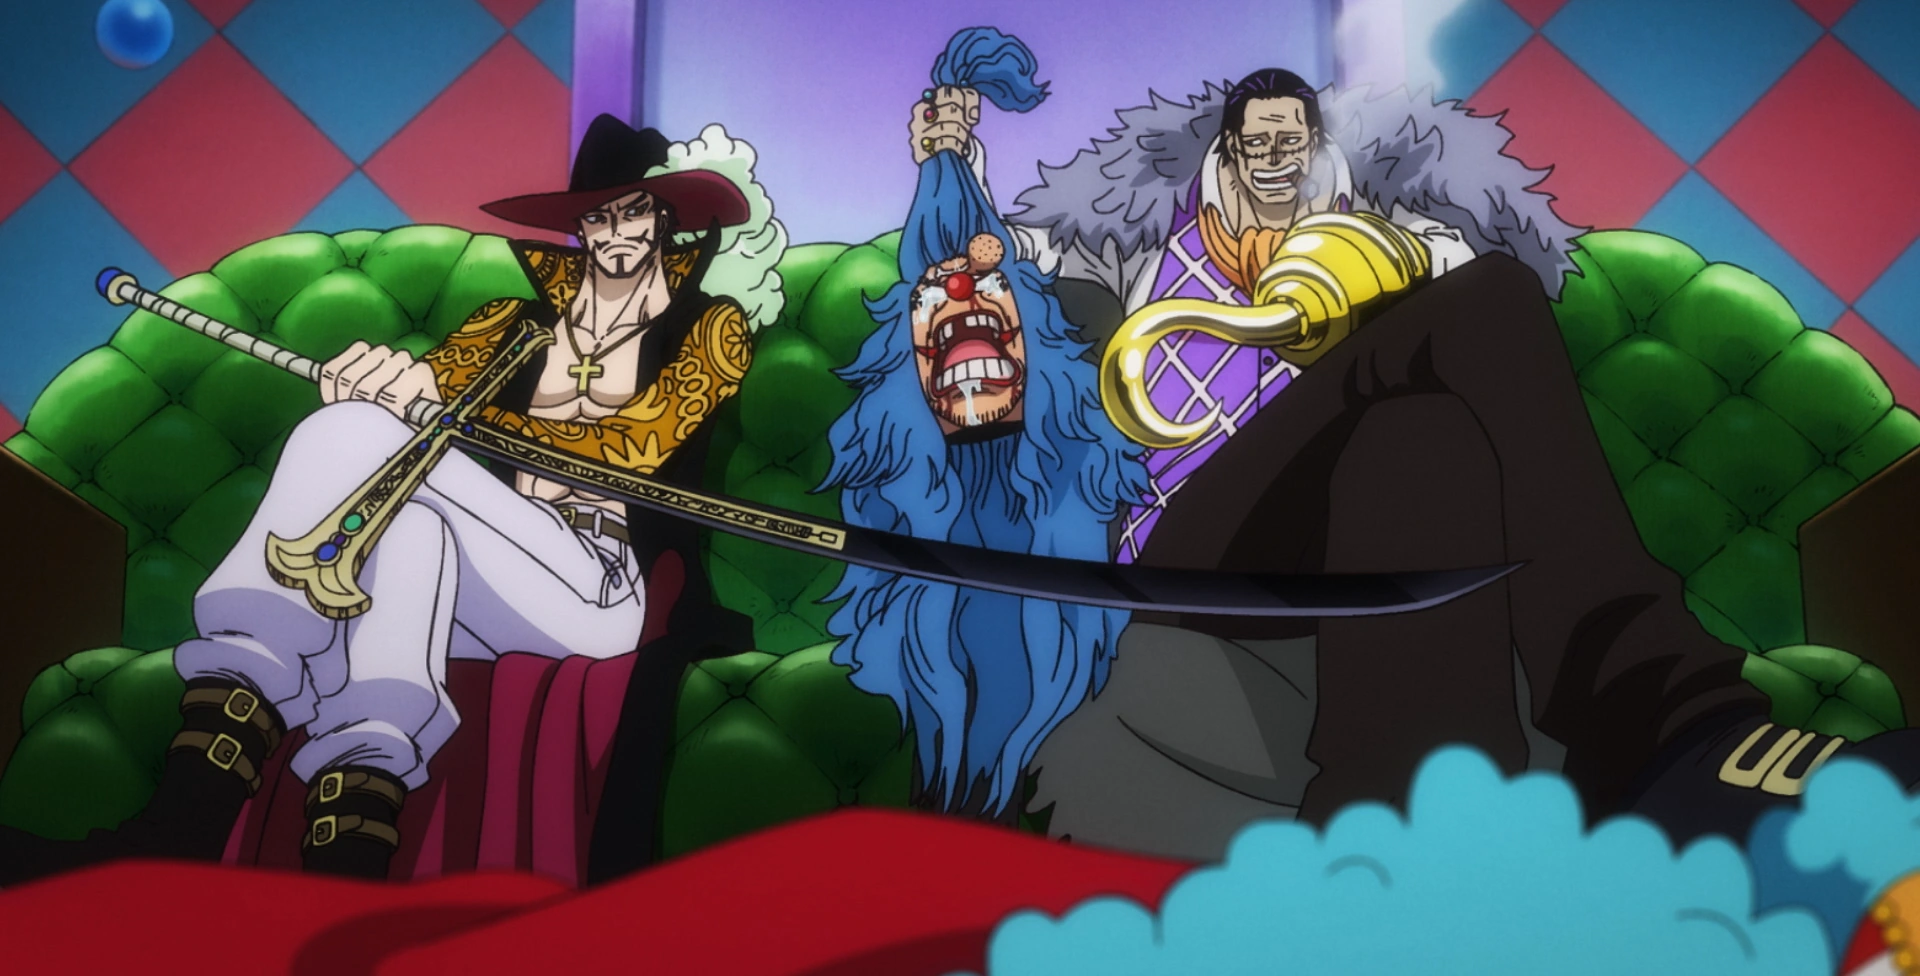
Buggy threatened by Mihawk and Crocodile.
With news reaching Marine Headquarters of the Cross Guild, they viewed the organization as a major threat as well as viewing Buggy as commanding Mihawk and Crocodile, leading them to make Buggy joining the ranks of the Four Emperors after the downfall of Big Mom and Kaidou and increasing his bounty to 3,189,000,000.[6] Mihawk convinced to Crocodile to spare Buggy's life after the incident so they could use him as figure head and could always get rid of him if he became a hassle. Buggy was horrified because he was now under the thumb of two powerful and ruthless individuals.[91] The Cross Guild quickly made a name for themselves by putting bounties on Marines turning the hunters into the hunted.[2] After the death of Vice-Admiral T Bone, Buggy awarded the assassin by giving the money to his family and admitted him into Cross Guild. Buggy then was shocked by the Cross Guild's new ship which Crocodile and Mihawk were shown to be disgusted of. As a result, Buggy was once again beaten up and dangling on a hook by Crocodile and Mihawk. However Buggy spoke up against Crocodile's Utopia Plan, believing it not to be a scheme that a pirate should go for. Crocodile and Mihawk were surprised that Buggy dared speak up against them. Buggy then remembered when both he and Shanks had a conversation after Roger's execution where Buggy was hoping that Shanks would step into Roger's footsteps and go for the One Piece. But when Shanks replied he did not plan on going for it yet, Buggy declared he'd break up their friendship and consider him an enemy until they meet again. Remembering this conversation and the fact that Shanks decided now of all times to go for the One Piece, Buggy saw this as a provocation by Shanks and decided he wanted to become the Pirate King and get the One Piece as well. However, both Crocodile and Mihawk declared they would never take him to the top nor did they have any interest to fight Luffy, Shanks or Blackbeard. However, Buggy replied that they didn't need to fight Luffy, Shanks or Blackbeard but just needed to take the treasure before they do and crossed both Crocodile and Mihawk by using a Den Den Mushi to announce that the Cross Guild would search for the One Piece too, much to Mihawk's and Crocodile's fury and his crew's delight.[92]
References[]
- ↑ 1.0 1.1 One Piece Manga and Anime — Vol. 2 Chapter 9 (p. 3-7) and Episode 4, Buggy makes his debut.
- ↑ 2.0 2.1 2.2 One Piece Manga and Anime — Vol. 105 Chapter 1056 (p. 14-15) and Episode 1083, The Cross Guild is first revealed.
- ↑ 3.0 3.1 3.2 3.3 One Piece Manga and Anime — Vol. 80 Chapter 803 (p. 10-11) and Episode 752, Buggy's Delivery is introduced.
- ↑ 4.0 4.1 4.2 One Piece Manga and Anime — Vol. 1 Chapter 8 (p. 7-13) and Episode 4, Buggy is first mentioned by the Tightrope Walking Funan Bros.
- ↑ One Piece Manga and Anime — Vol. 7 Chapter 54, cover story: Buggy's Crew Adventure Chronicles Vol. 14 and Episode 56, The Buggy and Alvida Alliance is formed.
- ↑ 6.0 6.1 6.2 One Piece Manga and Anime — Vol. 104 Chapter 1053 (p. 17) and Episode 1080, Buggy became recognized as one of the Four Emperors.
- ↑ 7.0 7.1 7.2 7.3 7.4 One Piece Manga and Anime — Vol. 70 Chapter 700 (p. 13) and Episode 629, It is revealed that Buggy has become a Warlord.
- ↑ 8.0 8.1 One Piece Manga and Anime — Vol. 45 Chapter 434 (p. 9-10) and Episode 316, Whitebeard mentions that Buggy was an apprentice in the Roger Pirates.
- ↑ 9.0 9.1 One Piece Manga and Anime — Vol. 54 Chapter 525 (p. 5) and Episode 422, It is revealed that Buggy is in Impel Down.
- ↑ SBS One Piece Manga — Vol. 84 (p. 60), Buggy's age is revealed.
- ↑ SBS One Piece Manga — Vol. 60 (p. 126), Buggy's birthday is revealed.
- ↑ 12.0 12.1 12.2 12.3 12.4 Vivre Card - One Piece Visual Dictionary (Card #0046), Information about Buggy is revealed.
- ↑ One Piece Manga and Anime — Vol. 105 Chapter 1058 (p. 13-14) and Episode 1086, The bounties of the Cross Guild members are revealed.
- ↑ One Piece Manga and Anime — Vol. 11 Chapter 96 (p. 6) and Episode 45, Buggy's bounty is revealed.
- ↑ One Piece Manga and Anime — Vol. 95 Chapter 964 (p. 17) and Episode 964.
- ↑ One Piece Manga and Anime — Vol. 0 Chapter 0 (p. 4) and Episode 0, 27 years ago, Shanks claimed Buggy could not be killed by stabbing.
- ↑ One Piece Manga and Anime — Vol. 3 Chapter 19 (p. 8-18) and Episode 8.
- ↑ 18.0 18.1 One Piece Manga and Anime — Vol. 0 Chapter 0 and Episode 0.
- ↑ One Piece Manga — Vol. 96 Chapter 965.
- ↑ One Piece Manga and Anime — Vol. 96 Chapter 966 and Episodes 966–967.
- ↑ One Piece Manga and Anime — Vol. 96 Chapter 967 and Episode 967.
- ↑ One Piece Manga — Vol. 96 Chapter 968.
- ↑ One Piece Anime — Episode 970.
- ↑ One Piece Manga and Anime — Vol. 45 Chapter 434 (p. 10) and Episode 316.
- ↑ One Piece Green: Secret Pieces, Buggy's profile.
- ↑ One Piece Manga and Anime — Vol. 2 Chapter 9 (p. 8-9) and Episode 5.
- ↑ One Piece Manga and Anime — Vol. 2 Chapter 9 and Episode 5.
- ↑ One Piece Manga and Anime — Vol. 2 Chapter 10 and Episode 5.
- ↑ One Piece Manga and Anime — Vol. 2 Chapter 11 and Episodes 5–6.
- ↑ One Piece Manga and Anime — Vol. 2 Chapter 12 and Episode 6.
- ↑ One Piece Manga and Anime — Vol. 2 Chapter 13 (p. 19) and Episode 6.
- ↑ One Piece Manga and Anime — Vol. 2 Chapter 14 and Episode 6.
- ↑ One Piece Manga and Anime — Vol. 2 Chapter 15 and Episodes 6–7.
- ↑ One Piece Manga and Anime — Vol. 2 Chapter 16 and Episode 7.
- ↑ 35.0 35.1 One Piece Manga and Anime — Vol. 2 Chapter 17 and Episode 7.
- ↑ One Piece Manga and Anime — Vol. 3 Chapter 18 and Episode 7.
- ↑ One Piece Manga and Anime — Vol. 3 Chapter 19 and Episode 8.
- ↑ One Piece Manga and Anime — Vol. 3 Chapter 20 and Episode 8.
- ↑ One Piece Manga and Anime — Vol. 4 Chapter 35, cover story: Buggy's Crew Adventure Chronicles Vol. 1 and Episode 46.
- ↑ One Piece Manga and Anime — Vol. 5 Chapter 39, cover story: Buggy's Crew Adventure Chronicles Vol. 4 and Episode 46.
- ↑ One Piece Manga and Anime — Vol. 5 Chapter 40, cover story: Buggy's Crew Adventure Chronicles Vol. 5 and Episode 46.
- ↑ One Piece Manga and Anime — Vol. 5 Chapter 42, cover story: Buggy's Crew Adventure Chronicles Vol. 6 and Episode 46.
- ↑ One Piece Manga and Anime — Vol. 6 Chapter 46, cover story: Buggy's Crew Adventure Chronicles Vol. 8 and Episode 46.
- ↑ One Piece Manga and Anime — Vol. 6 Chapter 47, cover story: Buggy's Crew Adventure Chronicles Vol. 9 and Episode 46.
- ↑ One Piece Manga and Anime — Vol. 6 Chapter 50, cover story: Buggy's Crew Adventure Chronicles Vol. 11 and Episode 46.
- ↑ One Piece Manga and Anime — Vol. 6 Chapter 51, cover story: Buggy's Crew Adventure Chronicles Vol. 12 and Episode 46.
- ↑ One Piece Manga and Anime — Vol. 7 Chapter 54, cover story: Buggy's Crew Adventure Chronicles Vol. 14 and Episode 46.
- ↑ One Piece Manga and Anime — Vol. 8 Chapter 65, cover story: Buggy's Crew Adventure Chronicles Vol. 20 and Episode 47.
- ↑ One Piece Manga and Anime — Vol. 8 Chapter 66, cover story: Buggy's Crew Adventure Chronicles Vol. 21 and Episode 47.
- ↑ One Piece Manga and Anime — Vol. 9 Chapter 74, cover story: Buggy's Crew Adventure Chronicles Vol. 27 and Episode 47.
- ↑ One Piece Manga and Anime — Vol. 11 Chapter 98 and Episode 52.
- ↑ One Piece Manga and Anime — Vol. 11 Chapter 99 and Episode 52.
- ↑ One Piece Manga and Anime — Vol. 12 Chapter 100 and Episode 53.
- ↑ One Piece Manga and Anime — Vol. 25 Chapter 233 and Episode 145.
- ↑ SBS One Piece Manga — Vol. 54 (p. 86).
- ↑ One Piece Manga and Anime — Vol. 54 Chapter 526 and Episode 423.
- ↑ 57.0 57.1 One Piece Manga and Anime — Vol. 54 Chapter 527 and Episode 424.
- ↑ One Piece Manga and Anime — Vol. 54 Chapter 528 and Episode 425.
- ↑ One Piece Manga and Anime — Vol. 54 Chapter 529 and Episode 430.
- ↑ One Piece Manga and Anime — Vol. 54 Chapter 530 and Episode 431.
- ↑ One Piece Manga and Anime — Vol. 54 Chapter 531 and Episode 432.
- ↑ One Piece Manga and Anime — Vol. 54 Chapter 532 and Episode 433.
- ↑ One Piece Manga and Anime — Vol. 55 Chapter 533 and Episode 434.
- ↑ One Piece Manga and Anime — Vol. 55 Chapter 534 and Episode 435.
- ↑ One Piece Manga and Anime — Vol. 55 Chapter 535 and Episodes 436–437.
- ↑ One Piece Manga and Anime — Vol. 55 Chapter 536 and Episode 437.
- ↑ One Piece Manga and Anime — Vol. 55 Chapter 541 and Episode 444.
- ↑ One Piece Manga and Anime — Vol. 56 Chapter 545 and Episode 448.
- ↑ One Piece Manga and Anime — Vol. 56 Chapter 546 and Episode 449.
- ↑ One Piece Manga and Anime — Vol. 56 Chapter 548 and Episode 451.
- ↑ One Piece Manga and Anime — Vol. 56 Chapter 549 and Episode 452.
- ↑ One Piece Manga and Anime — Vol. 56 Chapter 551 and Episode 460.
- ↑ One Piece Manga and Anime — Vol. 57 Chapter 557 and Episode 466.
- ↑ One Piece Manga and Anime — Vol. 57 Chapter 558 and Episode 467.
- ↑ One Piece Manga and Anime — Vol. 57 Chapter 559 and Episode 468.
- ↑ One Piece Manga and Anime — Vol. 57 Chapter 560 and Episode 469.
- ↑ One Piece Manga and Anime — Vol. 57 Chapter 561 and Episode 470.
- ↑ One Piece Manga and Anime — Vol. 57 Chapter 562 and Episode 471.
- ↑ One Piece Manga and Anime — Vol. 58 Chapter 563 and Episode 472.
- ↑ One Piece Manga and Anime — Vol. 58 Chapter 568 and Episode 477.
- ↑ One Piece Manga and Anime — Vol. 58 Chapter 573 and Episode 482.
- ↑ One Piece Manga and Anime — Vol. 59 Chapter 577 and Episode 486.
- ↑ One Piece Manga and Anime — Vol. 59 Chapter 578 and Episode 487.
- ↑ One Piece Manga and Anime — Vol. 59 Chapter 579 and Episode 488.
- ↑ One Piece Manga and Anime — Vol. 59 Chapter 580 and Episode 489.
- ↑ One Piece Manga and Anime — Vol. 60 Chapter 593 and Episode 512.
- ↑ 3D2Y
- ↑ One Piece Manga — Vol. 89 Chapter 895, cover story: The Stories of the Self-Proclaimed Straw Hat Grand Fleet Vol. 27.
- ↑ One Piece Movie — One Piece: Stampede.
- ↑ One Piece Manga and Anime — Vol. 95 Chapter 956 and Episode 957.
- ↑ 91.0 91.1 One Piece Manga and Anime — Vol. 105 Chapter 1058 and Episode 1086.
- ↑ One Piece Manga — Vol. 107 Chapter 1082.
[]
| |||||||||
| |||||||||
| |||||||||
| |||||||||||||||
| |||||||||||||||
| |||||||||||||||
| |||||||||||||
| |||||||||||||
| |||||||||||||
| |||||||||||
| |||||||||||
| |||||||||||
| |||||||||||||||||
| |||||||||||||||||
| |||||||||||||||||
| |||||||||||||
| |||||||||||||
| |||||||||||||
| |||||||||||||
| |||||||||||||
| |||||||||||||||||||
| |||||||||||||||||||
| |||||||||||||||||||
| |||||||||
| |||||||||
| |||||||||
| |||||||||
| |||||||||
| |||||||||
| |||||||||
| |||||||||||||||||||||||
Individuals with Bounties | |||||||||||||||||
|---|---|---|---|---|---|---|---|---|---|---|---|---|---|---|---|---|---|
| |||||||||||||||||
| |||||||||||||||||
| |||||||||||||||||
| |||||||||||||||||
| |||||||||||||||||
| |||||||||||||||||
| |||||||||||||||||
| |||||||||||||||||
| |||||||||||||||
| |||||||||||||||
| |||||||||||||||||
| |||||||||||||||||
| |||||||||||||||||
| |||||||||||
| |||||||||||
| |||||||||||